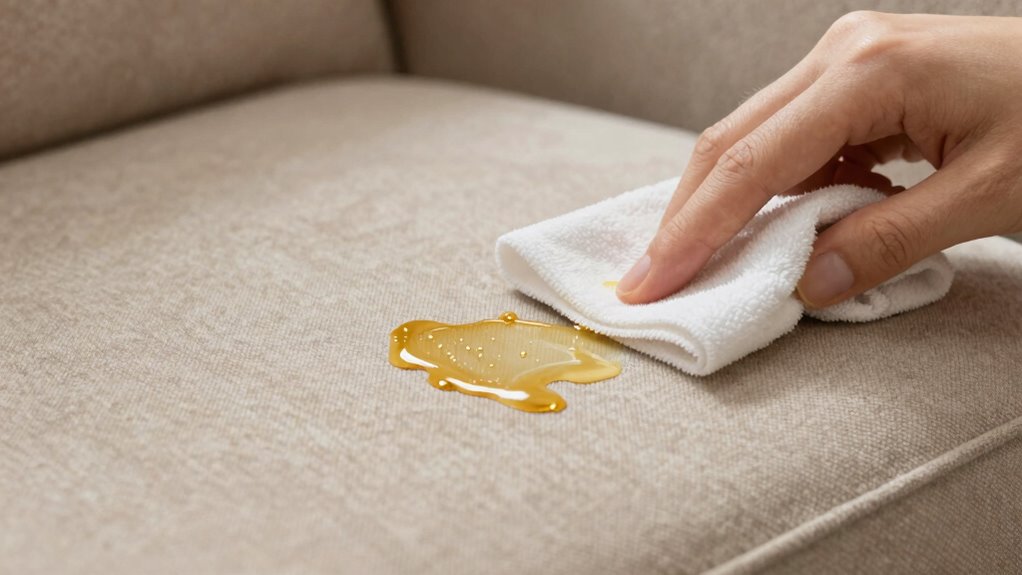

To clean butter stains from upholstery, act quickly by removing excess butter with a paper towel or cloth without rubbing. Test a mild cleaning solution like dish soap mixed with water on a hidden area first. Gently blot the stain with the solution, then use clean cloths to lift the grease. Avoid hot water or heat, and never scrub vigorously. Keep your upholstery looking its best with these simple steps—more tips follow to guarantee success.
Key Takeaways
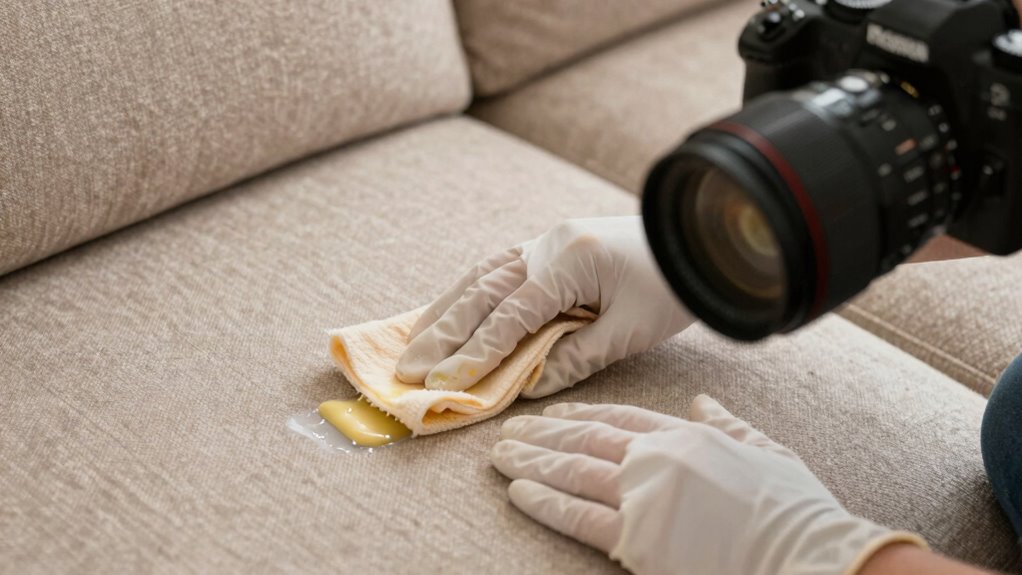
- Act quickly to blot excess butter without rubbing to prevent deep penetration.
- Use a mild cleaning solution like dish soap and water, testing on a hidden area first.
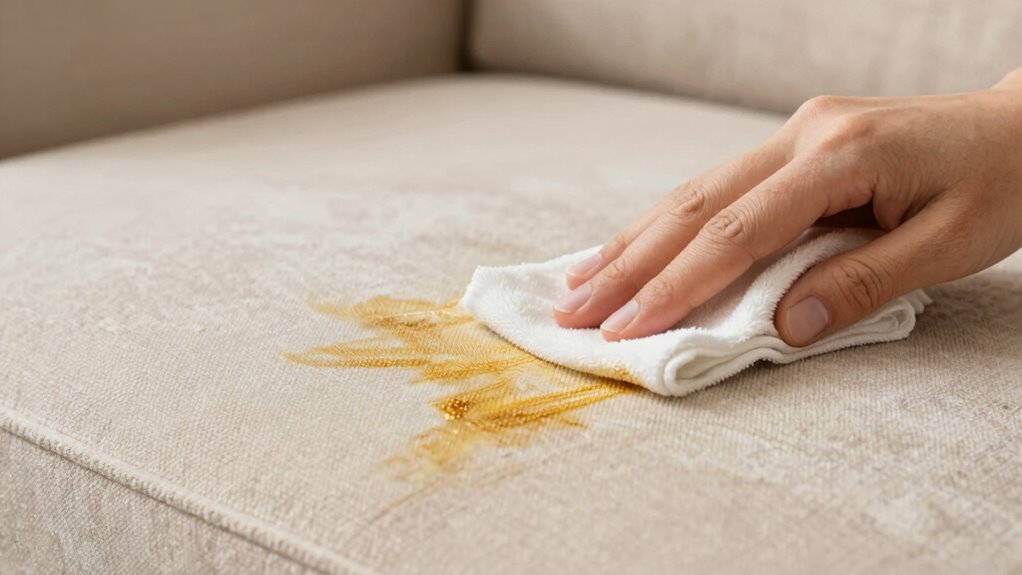
- Gently blot the stain with a clean cloth, avoiding heat and vigorous rubbing.
- For delicate fabrics, follow specific cleaning methods and consider professional advice if needed.
- Prevent future stains by using protective covers and fabric protectors during meals.
Why Butter Stains Are Greasy and Hard to Remove
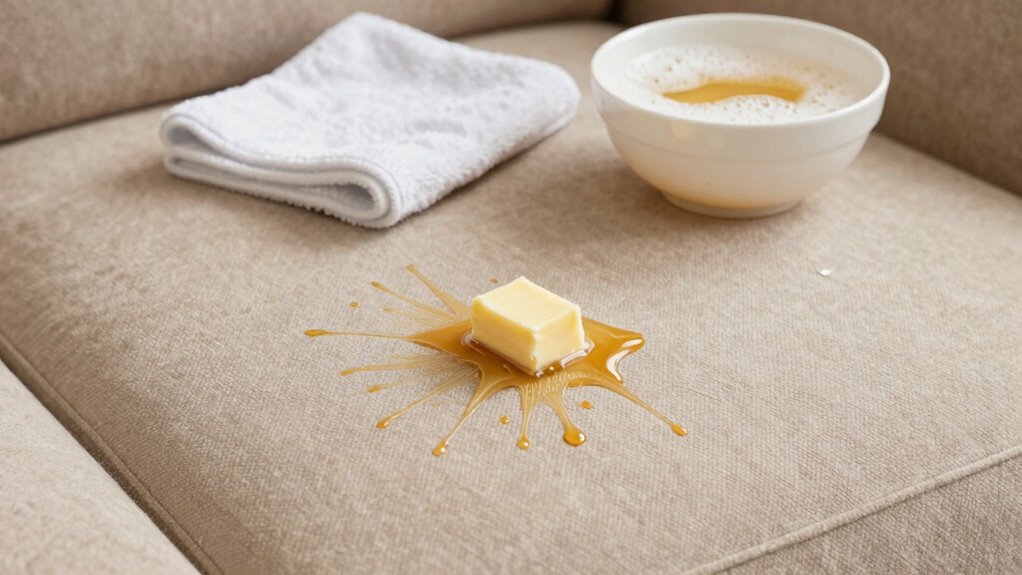
Butter stains are particularly greasy and difficult to remove because butter is a fat-based substance that easily penetrates upholstery fibers. Its composition, rich in fats and oils, allows it to soak deep into fabric material, making cleaning challenging. The grease penetration occurs quickly, embedding itself within the fibers and resisting water-based cleaning methods. Since butter’s fats are hydrophobic, they repel water, causing stains to set and spread if not addressed promptly. This greasy nature means you need special approaches to lift the stain effectively. Simply blotting with water won’t suffice; instead, you must use solvents or cleaners capable of breaking down the fats. Employing appropriate cleaning tools can enhance the effectiveness of stain removal efforts. Recognizing the chemical properties of fats and oils can guide you in selecting the most effective stain removal products. Additionally, understanding how fat-soluble solvents work can help in choosing the proper cleaning agents to effectively dissolve butter stains. Being aware of grease-solvent interactions can further improve your stain removal success. Using stain-specific cleaners designed for greasy stains can further improve your chances of successful removal.
How to Prepare Your Upholstery for Safe Cleaning

Before cleaning, clear the area around your upholstery to prevent accidents. Test your cleaning solution on a small, hidden spot to verify it won’t cause damage. Then, vacuum thoroughly to remove loose dirt and debris, making the cleaning process more effective. Additionally, understanding the rhythm failure concept can help you avoid over-saturating the fabric, which could lead to further stains. Recognizing the importance of Free Floating in natural pools can guide you in maintaining a healthy, chemical-free environment. Incorporating Essential Oils into cleaning routines can also provide natural antimicrobial benefits and a pleasant scent. Employing layered cleaning techniques can ensure a more thorough and gentle approach to removing stubborn stains. Adopting a holistic SEO approach ensures your cleaning methods are both effective and sustainable.
Clear the Area
Have you cleared the surrounding area to guarantee a safe cleaning process? Clearing the space guarantees you won’t accidentally spread butter or other debris onto nearby furniture or flooring. Move items away and cover nearby surfaces with a cloth or plastic sheet to protect them during stain removal. This step helps prevent accidental spills or damage while you focus on spot cleaning. Additionally, removing loose crumbs or debris from the upholstery guarantees that the cleaning process targets only the butter stain. A clutter-free workspace allows you to work more efficiently and safely. Taking these precautions minimizes the risk of spreading the stain and makes the stain removal process smoother. Before you start, confirm the area is clear so you can focus solely on cleaning the butter stain effectively. Ensuring a clean and organized workspace supports safer and more efficient stain removal. Moreover, understanding the neurobiological factors involved in emotional regulation can provide insight into managing stress during cleaning tasks. To further improve your cleaning approach, familiarize yourself with proper stain removal techniques that can make the process more effective. Additionally, maintaining a stress management strategy can help you stay calm and focused throughout the cleaning process.
Test Cleaning Solution
To make certain your upholstery responds well to cleaning, it’s vital to test your cleaning solution first. This step helps prevent unwanted damage and ensures stain prevention. Begin by mixing a small amount of your chosen cleaning solution with water using appropriate cleaning tools, like a spray bottle or soft cloth. Choose a hidden or inconspicuous area to apply the solution, then gently blot with a clean cloth. Wait a few minutes to observe any discoloration or damage. If the fabric remains unchanged, you can confidently proceed to clean the butter stain. Always remember that testing first minimizes risk and prepares your upholstery for safe, effective cleaning. This simple step is key to avoiding costly mistakes and ensuring your fabric stays in good shape. Regional flavors can influence the effectiveness of cleaning products, so considering your specific fabric’s origin can be beneficial. Additionally, understanding auditory processing can help in selecting the most suitable cleaning methods for delicate fabrics. Incorporating knowledge about material compatibility can further optimize your cleaning process and protect your upholstery from harm. Recognizing fabric sensitivity is also important to avoid using harsh chemicals that might deteriorate the material over time. Being aware of fabric properties can help you choose the most appropriate cleaning agents for your upholstery.
Vacuum Thoroughly
Start by thoroughly vacuuming your upholstery to remove loose dirt, dust, and debris. This dust removal step is essential to prevent particles from embedding deeper during cleaning. Use a vacuum with a brush attachment to gently lift dirt from fibers without causing damage. Pay special attention to seams, crevices, and corners where dust tends to accumulate. Vacuum thoroughly across the entire surface to ensure all loose particles are removed. This process not only prepares your upholstery for effective cleaning but also reduces the risk of dirt settling into the fabric during washing. Proper dust removal creates a cleaner surface, making it easier to treat stains like butter and ensuring your upholstery stays fresh and in good condition longer. Additionally, selecting a vacuum with powerful suction and filtration can help optimize dust removal and improve overall cleaning results. Incorporating adequate dust removal from your cleaning routine supports the longevity and appearance of your upholstery.
Step-by-Step Guide to Removing Butter Stains Safely
To remove butter stains safely, act quickly before they set in. Use gentle, appropriate cleaning agents to make certain it won’t cause discoloration or harm your upholstery. Always test any cleaner on a hidden area first to ensure it won’t cause discoloration or harm.
Act Quickly to Remove
When you notice a butter stain on your upholstery, acting quickly can make all the difference in preventing it from setting permanently. Understanding butter chemistry helps you realize that the fats in butter can solidify and adhere strongly if left untreated. Immediate action prevents the stain from penetrating deep into the fibers, making stain prevention easier. Blot the excess gently with a clean cloth or paper towel—don’t rub, as that can spread the stain. The sooner you respond, the better your chances of removing the butter before it becomes difficult to clean. Remember, quick intervention minimizes the chance of the fats bonding tightly with the fabric, saving you time and effort later while keeping your upholstery looking its best.
Use Suitable Cleaning Agents
Choosing the right cleaning agents is essential for safely removing butter stains without damaging your upholstery. When tackling stain removal, select cleaning agents that are gentle yet effective. Avoid harsh chemicals that can discolor or weaken fabric fibers. For fresh butter stains, a mild dish soap mixed with water often works well. If the stain persists, consider using a specialized upholstery cleaner designed for delicate fabrics. Always read labels carefully to ensure the cleaning agents are suitable for your furniture type. Using the wrong products can set the stain or cause irreversible damage. Remember, the goal is to lift the stain without harming your upholstery’s integrity, so choose cleaning agents carefully and follow the instructions for ideal stain removal results.
Test on Hidden Area
Before applying any cleaning solution to your upholstery, it’s vital to test it on a hidden area first. This step ensures the solution doesn’t damage the fabric patterns or compromise the stain resistance of your furniture. Choose a small, inconspicuous spot, like under a cushion or along a seam. Apply a tiny amount of your cleaning solution and wait a few minutes to observe any color change or fabric damage. If the fabric remains unaffected, you can proceed confidently. Testing helps prevent surprises and preserves your upholstery’s appearance. Remember, different fabrics react differently—some with delicate patterns or special treatments—so always perform this simple test. It’s a key step in safely removing butter stains without risking further damage to your furniture.
Cleaning Different Upholstery Materials: What You Need to Know

Different upholstery materials require specific cleaning methods to effectively remove butter stains without causing damage. Knowing your fabric textures and stain types helps you choose the right approach. For example:
- Leather: Use a damp cloth and mild soap, avoiding excess moisture that can damage the surface.
- Velvet: Gently blot with a dry cloth, then use a soft brush to restore the nap after cleaning.
- Cotton or Linen: Treat with a mixture of mild detergent and water, then blot carefully to lift the stain without spreading it.
Always test cleaning solutions on a hidden area first. Being aware of fabric textures and stain types guarantees safe and effective removal, preventing further damage.
How to Prevent Butter Stains From Showing Up
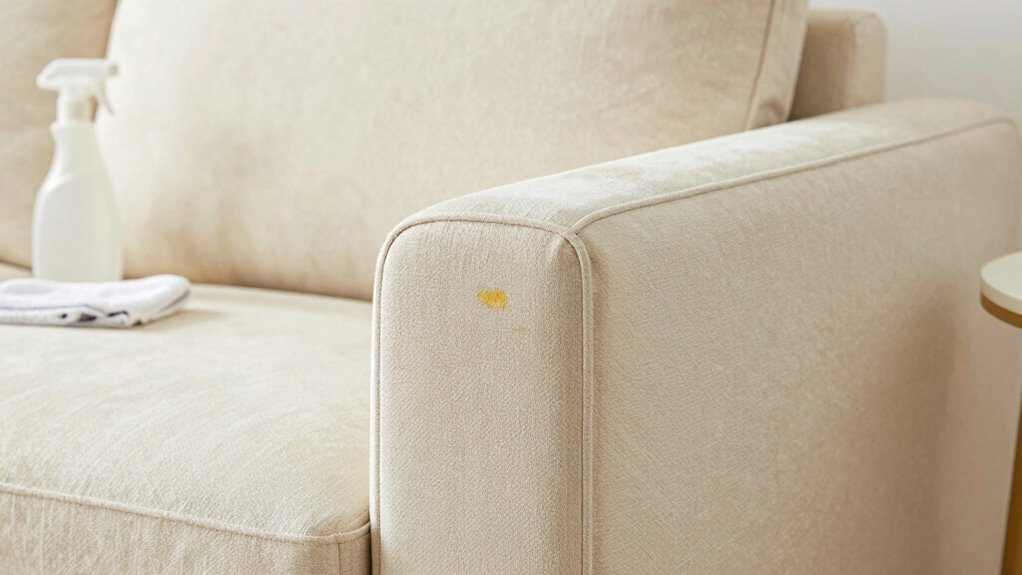
Butter stains can be tricky to spot and remove once they set in, but you can prevent them from becoming a problem by taking simple precautions. Implementing preventative measures enhances stain resistance and keeps your upholstery looking fresh. Keep butter away from furniture when cooking or eating, and use covers or placemats to act as barriers. Regularly applying fabric protectors creates a protective layer that repels stains. Also, encourage family members to be cautious with food around furniture. Here’s a quick visual guide:
| Preventative Measure | Action | Benefit |
|---|---|---|
| Use Protective Covers | Cover upholstery during meals | Reduces direct contact with butter |
| Apply Fabric Protectors | Use stain-resistant sprays | Enhances stain resistance |
| Mind Food Placement | Keep butter away from furniture | Limits accidental spills |
Common Mistakes to Avoid When Removing Butter Stains

One of the biggest mistakes you can make when removing butter stains is using hot water or a hot blow dryer, as heat can cause the fats to set deeper into the upholstery fibers. To avoid worsening the stain, focus on stain prevention and gentle DIY remedies.
Here are common mistakes to watch out for:
- Rubbing the stain vigorously, which spreads the butter further.
- Using harsh chemicals or bleach that damage the fabric.
- Delaying treatment, letting the stain set and become harder to remove.
Instead, act promptly with cool or room-temperature solutions, and test any DIY remedies on a hidden area first. Avoid heat, and stick to mild cleaning methods to protect your upholstery and keep your stain removal effective.
When to Call in a Professional Upholstery Cleaner
While some butter stains can be removed with DIY methods, there are times when choosing professional services is the smarter move. If you’ve already tried DIY stain removal and the stain persists, or if the butter has set deeply into delicate or antique upholstery, it’s time to call in a professional. Professionals have specialized equipment and cleaning solutions that can effectively remove stubborn stains without damaging your fabric. Additionally, if you’re unsure about the fabric’s cleaning needs or worried about causing further harm, consulting a professional ensures safety and thoroughness. Don’t risk worsening the stain or damaging your furniture—trust the expertise of upholstery cleaning pros for the best results when DIY stain removal fails or isn’t appropriate.
Frequently Asked Questions
Can Homemade Remedies Damage My Upholstery?
Homemade remedies can damage your upholstery if you’re not careful, especially if they contain harsh homemade chemicals. Always prioritize upholstery safety by testing any solution on a small, hidden area first. Some ingredients might discolor or weaken the fabric, so use gentle, natural options and avoid aggressive scrubbing. When in doubt, consult professional cleaning methods to protect your furniture and keep it looking new.
How Long Should I Wait Before Reusing Cleaned Furniture?
You should wait at least 24 hours before reusing your cleaned furniture to make sure it’s fully dry and won’t stain or damage your fabric protection. This waiting period helps maintain stain resistance and prevents mold. While it might seem coincidental, giving your upholstery ample drying time preserves its stain resistance, so you can enjoy your furniture longer without worry. Patience here keeps your fabric protected and looking fresh.
Are There Eco-Friendly Stain Removal Options for Butter?
Yes, you can use eco-friendly stain removal options for butter. Try biodegradable solvents and plant-based cleaners, which are gentle on your upholstery and better for the environment. Apply these solutions carefully, following the instructions, and test on a small area first. These natural alternatives effectively lift butter stains without harmful chemicals, helping you keep your furniture clean and eco-conscious simultaneously.
Will Cleaning Remove the Original Fabric Color or Pattern?
Cleaning butter stains carefully helps preserve your fabric’s original color and pattern, as long as you use gentle methods. By focusing on fabric preservation and considering dye stability, you minimize the risk of color fading or pattern distortion. Always test cleaning solutions on a hidden area first, and avoid harsh chemicals. Proper cleaning techniques protect your upholstery’s appearance while effectively removing stains.
How Often Should I Clean Upholstery to Prevent Stains?
You should clean your upholstery regularly, ideally every 6 to 12 months, to prevent stains and maintain fabric protection. Frequent cleaning helps remove dirt and spills before they set, reducing the chance of lasting stains. Using appropriate cleaning methods and stain prevention techniques keeps your furniture looking fresh and extends its lifespan. Consistent maintenance guarantees your upholstery stays clean, vibrant, and protected from potential damage caused by everyday use.
Conclusion
By following these simple steps, you can effectively remove butter stains and keep your upholstery looking fresh. For instance, imagine spilling butter during a family dinner—you act quickly, and the stain disappears, saving your sofa from permanent damage. Remember, prompt action and the right cleaning methods make all the difference. If a stain seems stubborn, don’t hesitate to call in a professional. With care, your furniture stays beautiful and stain-free for years to come.