When you take photos in a bright room, too much light can cause overexposure, making your picture look washed out and losing detail. In dark rooms, insufficient light results in underexposed photos that lack clarity and color. Proper camera settings, like adjusting exposure and white balance, can help prevent these issues. If you want to improve your photos regardless of lighting, there’s plenty more to learn about optimizing your images in any environment.
Key Takeaways
- Overexposure from excessive bright light causes loss of detail and washed-out colors.
- Insufficient lighting in dark rooms results in underexposed photos with dull, flat appearances.
- Bright rooms often trigger camera auto-reduction, leading to overly bright images lacking contrast.
- Dark environments prevent enough light from reaching the sensor, making photos appear underexposed and muted.
- Proper camera settings and lighting adjustments are essential to prevent washed-out or overly dark pictures.

Mangodan 50" Storage Ottoman Bench, Tufted Ottoman with Storage for Living Room, Large End of Bed Ottomans, Modern Entryway Benchs, Window & Bedroom Benches for Foot of Bed (Beige)
Versatile Use Scenarios: Ideal for entryways, bedrooms, dressing rooms, or living rooms. This bedroom ottoman with storage bench...
As an affiliate, we earn on qualifying purchases.
How Lighting Affects Your Photos’ Exposure and Color
Lighting plays a crucial role in determining how your photos turn out, especially regarding exposure and color. The color temperature of your light source influences whether your images look warm or cool, affecting the overall mood. A warm light, like sunlight during golden hour, creates a cozy feel, while cooler light from fluorescent bulbs can make photos appear sterile. Adjusting the white balance on your camera helps compensate for these variations, ensuring colors stay true to life. When you set the right white balance, your camera interprets the scene’s lighting correctly, preventing color casts. Properly managing color temperature and white balance helps you achieve accurate, vibrant images, regardless of the room’s lighting conditions. Understanding how lighting influences exposure and color is essential to avoid washed-out or overly harsh colors in your photos. Additionally, mastering lighting setup techniques can significantly improve your photographic results in different environments. Being aware of indoor air quality factors, such as dust and microplastics, can also impact your camera equipment’s longevity and your overall photography experience. Good lighting practices also include checking for light direction, as it can dramatically change the depth and texture in your images. Recognizing the impact of ambient light can further help in achieving consistent and appealing results across various settings.
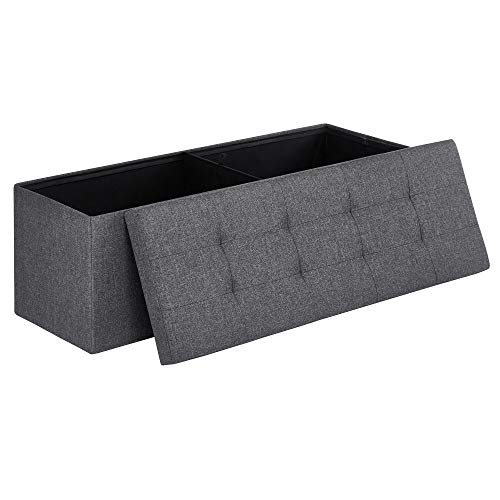
SONGMICS MAZIE Collection - 43 Inches Folding Storage Ottoman Bench, Ottoman Foot Rest, End of Bed Bench, Storage Chest, Load 660 lb, for Living Room, Bedroom, Entryway, Dark Gray ULSF77K
【QUICK ASSEMBLY, EASY FOLDAWAY】This storage ottoman from the SONGMICS MAZIE Collection has a foldable design that allows quick...
As an affiliate, we earn on qualifying purchases.
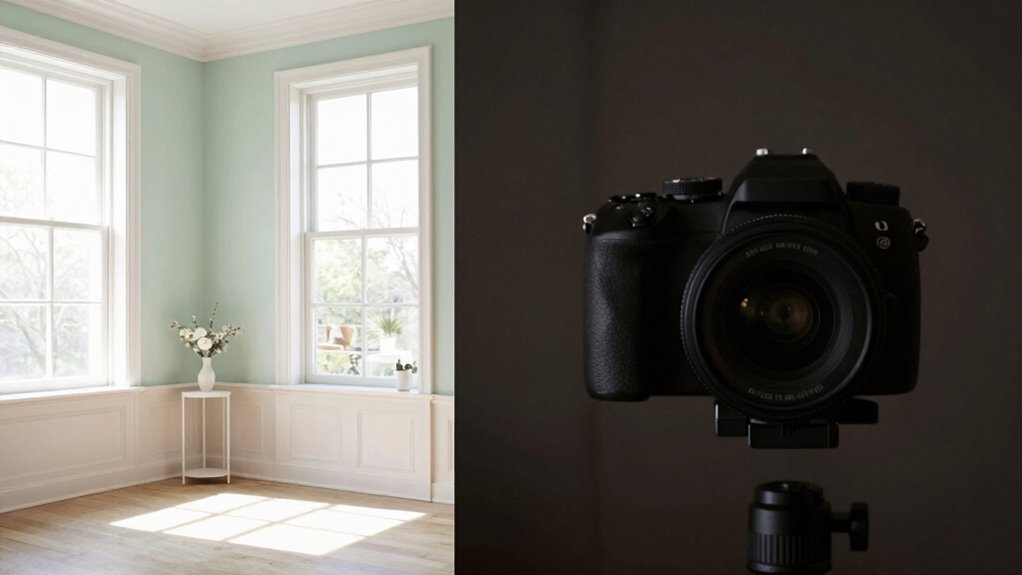
Why Bright Rooms Can Make Your Photos Look Overexposed and Washed Out
Bright rooms can easily cause your photos to appear overexposed and washed out, especially if your camera’s exposure settings aren’t adjusted properly. The abundant interior lighting and direct sunlight glare can flood your camera sensor, making details lose contrast and colors fade. When the camera struggles to balance the intense brightness, it automatically reduces exposure, resulting in a washed-out look. This effect is common in rooms with large windows or open spaces where sunlight is strong. To prevent this, you can adjust your camera’s exposure compensation, use a lens hood, or shoot during times when sunlight isn’t as harsh. Managing interior lighting and controlling sunlight glare helps you capture more balanced, vibrant photos without sacrificing detail. Additionally, understanding how camera exposure settings influence image quality allows you to better adapt to bright environments.

LEVOIT Air Purifier for Home Allergens Pet Hair in Bedroom, Covers Up to 1073 ft² by 56W High Torque Motor, AHAM VERIFIDE, 3-in-1 Filter with HEPA Sleep Mode, Remove Dust Smoke Odor, Core300-P, White
WHY CHOOSE AHAM VERIFIDE AIR PURIFIERS: AHAM (Association of Home Appliance Manufacturers) is an ANSI-accredited organization that sets...
As an affiliate, we earn on qualifying purchases.
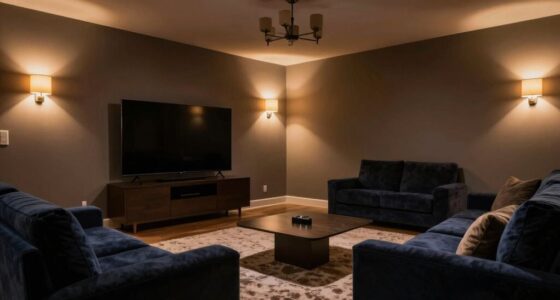
How Dark Rooms Lead to Underexposure and Loss of Detail
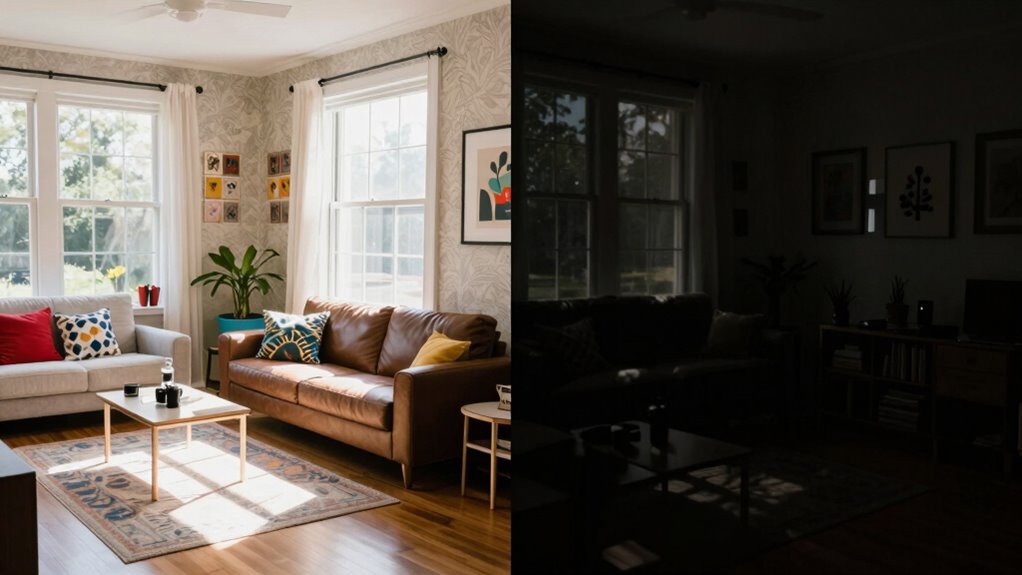
When a room is too dark, your camera struggles to gather enough light, often resulting in underexposed photos. The room color can influence light intensity; darker walls absorb more light, making it harder for your camera to capture detail. As a result, your images may appear shadowy, with lost detail in both shadows and midtones. Underexposure causes a lack of brightness, hiding textures and features that you want to showcase. Without sufficient light, the camera’s sensor can’t record the scene accurately, leading to images that look flat and dull. This loss of detail makes it difficult to see the full richness of your subject, especially in areas where the light is minimal. Proper lighting techniques can help mitigate these issues and ensure your photos retain their clarity and detail. Ensuring adequate light levels helps preserve detail and produce more balanced, clear photos, especially when light levels are insufficient. Additionally, understanding camera exposure settings can help you adjust your camera to compensate for low-light conditions and improve image quality. Effective lighting not only enhances brightness but also reveals textures and depth that might otherwise be hidden in shadows. Moreover, using additional light sources can significantly improve your photo quality in dark environments.

LEVOIT Air Purifiers for Home Large Room Up to 1875 Ft² with Washable Pre-Filter, AHAM VERIFIDE, Air Quality Monitor, HEPA Sleep Mode for Allergies, Pet Hair in Bedroom, Vital 200S-P, White
𝐖𝐇𝐘 𝐂𝐇𝐎𝐎𝐒𝐄 𝐀𝐇𝐀𝐌 𝐕𝐄𝐑𝐈𝐅𝐈𝐃𝐄 𝐏𝐑𝐎𝐃𝐔𝐂𝐓𝐒: AHAM (Association of Home Appliance Manufacturers) is an ANSI-accredited organization that sets strict...
As an affiliate, we earn on qualifying purchases.
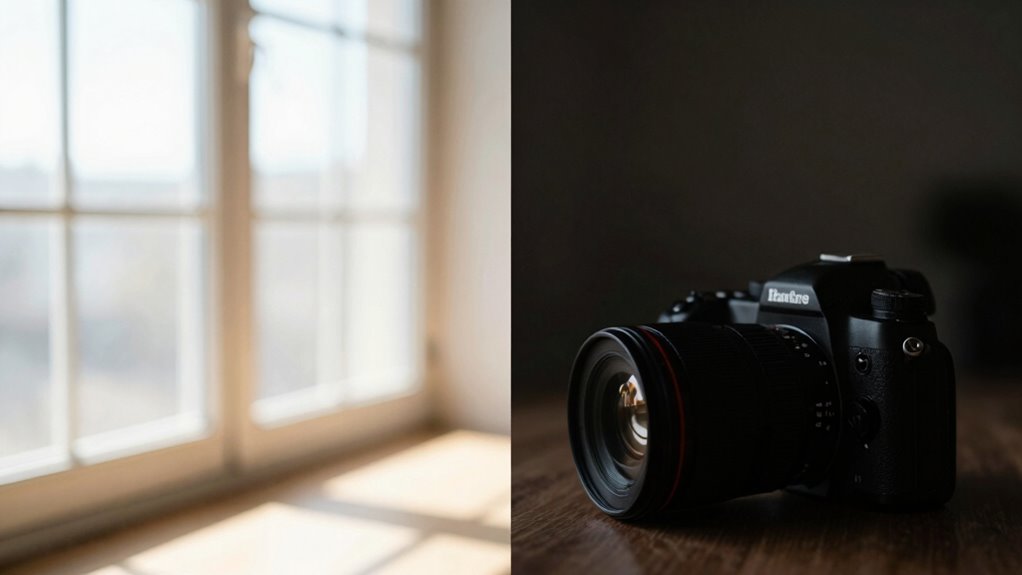
Easy Tips to Adjust Your Camera Settings for Better Photos in Any Light

Adjusting your camera settings is the easiest way to improve photos in any lighting condition. Start by selecting the right camera mode—use aperture priority for control over depth of field or manual mode for full adjustment. In bright environments, lower ISO settings to prevent overexposure, while in low light, increase ISO cautiously to maintain image quality. Your lens choices also matter: wide apertures like f/1.8 let in more light in dark settings, making your photos clearer. When shooting in challenging light, consider switching to a lens with a larger maximum aperture. These adjustments help your camera adapt to different lighting, reducing washed-out or underexposed images. Practice switching modes and choosing lenses to find the best settings for any scene. Additionally, understanding cloud services can inform your decisions when capturing images in digital workflows, ensuring your photos are preserved and shared effectively. Being familiar with exposure settings and how they influence image quality can further enhance your photography skills. Learning about camera calibration can also help achieve more accurate colors and exposure in various lighting conditions.
How to Edit Bright and Dark Photos to Enhance Color and Clarity
Enhancing your photos’ brightness and darkness through editing can dramatically improve their overall look. Using editing software, you can perform color correction to restore vibrancy and contrast, making details pop. Adjust brightness and shadows carefully to avoid washed-out or overly dark results. To deepen your understanding, consider this table:
| Bright Photos | Dark Photos |
|---|---|
| Add contrast | Brighten shadows |
| Enhance saturation | Recover details in shadows |
| Correct color balance | Adjust highlights |
Additionally, understanding how lighting affects hive health can help you capture better images of your bees in different environments. Proper lighting conditions, much like vehicle protection, can prevent damage and ensure your photos maintain their quality over time. Recognizing the importance of proper lighting setup can significantly influence your editing choices to achieve a more balanced and vibrant image. Incorporating natural light techniques can also elevate the clarity and color accuracy of your photographs, especially when capturing outdoor scenes.
Frequently Asked Questions
How Does Ambient Light Color Influence Photo Tone?
Ambient light color substantially influences your photo tone by affecting color temperature and light color harmony. If the ambient light has a warm hue, it warms up your image, creating a cozy feel. Conversely, cool tones make your photo appear more clinical or subdued. You can balance these effects by adjusting white balance or using filters, ensuring your photo’s tone aligns with your desired mood and maintains harmonious light color.
Can Using a Flash Improve Photos in Dark Rooms?
Like a lighthouse guiding ships, flash photography can brighten dark rooms, improving your photos. It adds necessary light to prevent shadows and washed-out effects. To get sharp images, use handheld stabilization—rest your elbows, hold your camera steady, or use a tripod. This guarantees your flash illuminates evenly, capturing details clearly. So, yes, a flash can transform dim shots into vibrant keepsakes with the right technique.
What Are the Best Camera Settings for Mixed Lighting?
To handle mixed lighting, you should adjust your camera’s white balance to match the different sources, like tungsten and daylight, for accurate colors. Use exposure compensation to prevent overexposing bright areas or underexposing dark ones. Keep the ISO low to avoid noise, and consider shooting in RAW for better post-processing control. These settings help balance the lighting, ensuring your photos look natural and well-exposed.
How Does Lens Choice Affect Exposure in Different Lighting?
Your lens choice impacts exposure through lens aperture and sensor sensitivity. A wider aperture lets in more light, brightening your shot in low light, while a narrower aperture reduces light, ideal for bright settings. Adjustting sensor sensitivity (ISO) complements this, allowing you to brighten images without overexposing. Together, selecting the right lens aperture and ISO settings helps you control exposure across different lighting conditions, ensuring your photos aren’t washed out or too dark.
Are There Specific Editing Tools for Balancing Bright and Dark Images?
You can use photo editing apps like Adobe Lightroom or Snapseed to balance bright and dark images. These apps offer exposure adjustment tools that let you brighten shadows or tone down highlights, creating a more balanced look. By tweaking exposure levels, you guarantee details in both bright and dark areas are visible, preventing your photo from looking washed out. Experiment with these tools to achieve a natural, well-balanced exposure in your photos.
Conclusion
Whether you’re in a bright room blinding with sunlight or a dark room cloaked in shadows, your photos can suffer. Too much light washes out colors like a faded painting, while too little hides details like a secret. But with a few simple adjustments, you can turn a washed-out shot into a vibrant masterpiece or a shadowy image into a crisp scene. Mastering lighting means your pictures always tell the story you want, no matter the room.