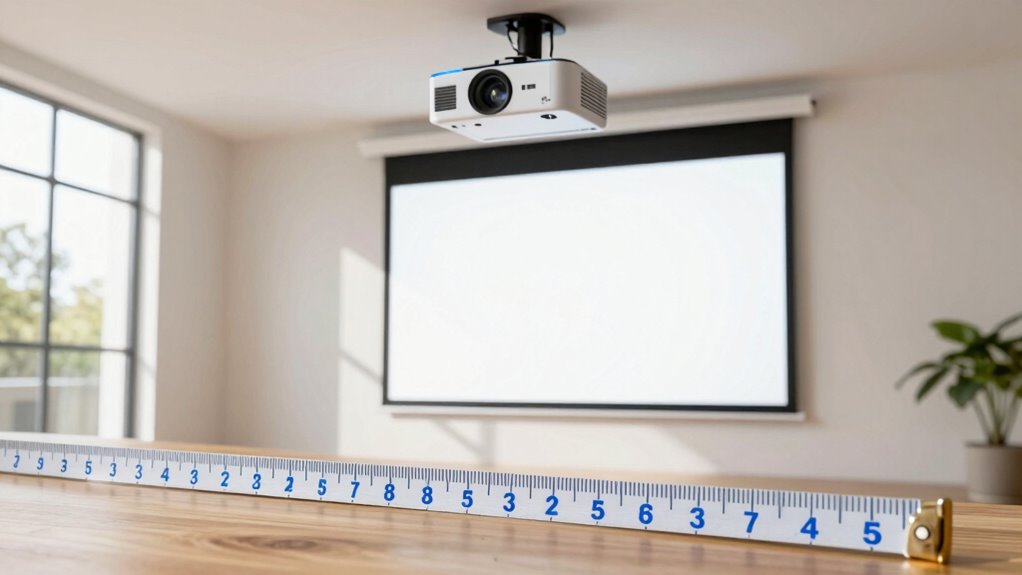
Understanding throw distance is essential for a successful projector setup. It’s the space between your projector and screen, affecting image clarity and size. Incorrect distances can lead to blurry or pixelated visuals. Use the throw ratio to calculate the right distance for your specific screen size. Avoid common mistakes like improper alignment and lens cleanliness. Get the basics right to enhance your viewing experience, and there’s plenty more to uncover about optimizing your projector setup.
Key Takeaways
- Understand the projector’s throw ratio to determine the ideal distance for the desired image size and clarity.
- Measure the distance from the projector to the screen to avoid blurry or distorted images.
- Choose the correct screen size based on the projector’s throw distance to maintain image quality.
- Regularly clean the projector lens to prevent distortion and ensure optimal image clarity.
- Consider ambient lighting conditions and room layout to enhance viewing experience and adjust throw distance accordingly.

Howonder Soundbar Wall Mount,All Metal Sound Bar Mounts Under TV for Sonos,Samsung, Bose, Vizio, LG, Sony, JBL and More,Depth Adjustable 3.7”-6.3”, Hold up to 30 lbs,HD-118,2 Packs,Black
Universal Compatibility:The Soundbar Wall Mount fits for Sonos,Samsung, Bose,Sony,Vizio, LG, Sony, JBL and More!
As an affiliate, we earn on qualifying purchases.
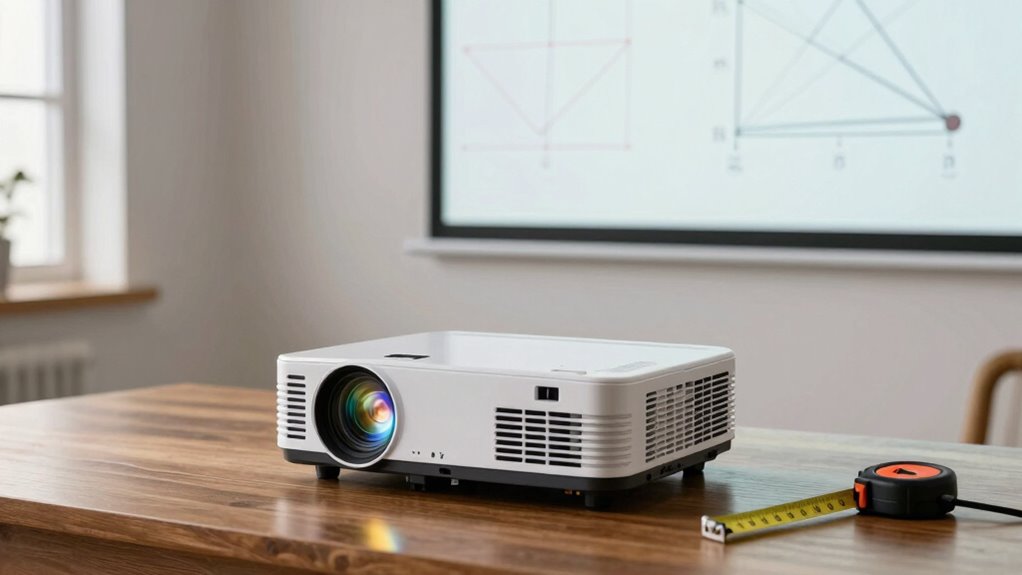
Why Understanding Throw Distance Is Essential for Your Projector Setup
When setting up your projector, understanding throw distance is essential because it directly impacts your viewing experience. The throw distance determines how far your projector needs to be from the screen to produce a clear and properly sized image. If you don’t consider this, you risk improper projector placement, leading to potential image distortion. A projector placed too close can cause the image to appear blurry or washed out, while one that’s too far may result in a dim or pixelated display. To guarantee an immersive viewing experience, you need to measure the throw distance accurately, aligning it with your screen size and room dimensions. This way, you can avoid frustrating adjustments later and enjoy your content as intended. Additionally, understanding projector specifications will help you select a model that suits your space. Ensuring the right data storage solution can help you manage and store your digital content effectively, enhancing your overall viewing experience. Using a best home security system can also protect your projector and other valuable devices from theft or damage. Moreover, knowing the contrast ratio of your projector can significantly enhance the clarity and depth of the images displayed.

Ultra Slim Soundbar Mount Fit Small Sound Bars for TVs, Compact Sound Bar Mount Bracket for Samsung HW-S700D Mount Under or Above TVs, Secure Anti-Slip Design for Low-Profile Soundbar, Easy to Install
Designed for Small/Compact/Slim Soundbars - The small soundbar mounts are specially designed for soundbars up to 3.5" depth...
As an affiliate, we earn on qualifying purchases.
How to Calculate Your Projector’s Throw Distance
To calculate your projector’s throw distance, you’ll first need to understand the throw ratio, which helps determine how far away the projector should be from the screen. Next, measure the actual projection distance to guarantee it fits your setup. Finally, consider the screen size to achieve the best image quality for your space.
Understanding Throw Ratio
Understanding throw ratio is essential for determining how far your projector needs to be from the screen to achieve the desired image size. The throw ratio is the relationship between the distance from the projector to the screen and the width of the image. Knowing this helps prevent image distortion.
Here’s a quick reference table to illustrate different throw ratios:
| Throw Ratio | Distance to Screen (ft) | Image Width (ft) |
|---|---|---|
| 1.0:1 | 10 | 10 |
| 1.5:1 | 10 | 6.67 |
| 2.0:1 | 10 | 5 |
| 2.5:1 | 10 | 4 |
| 3.0:1 | 10 | 3.33 |
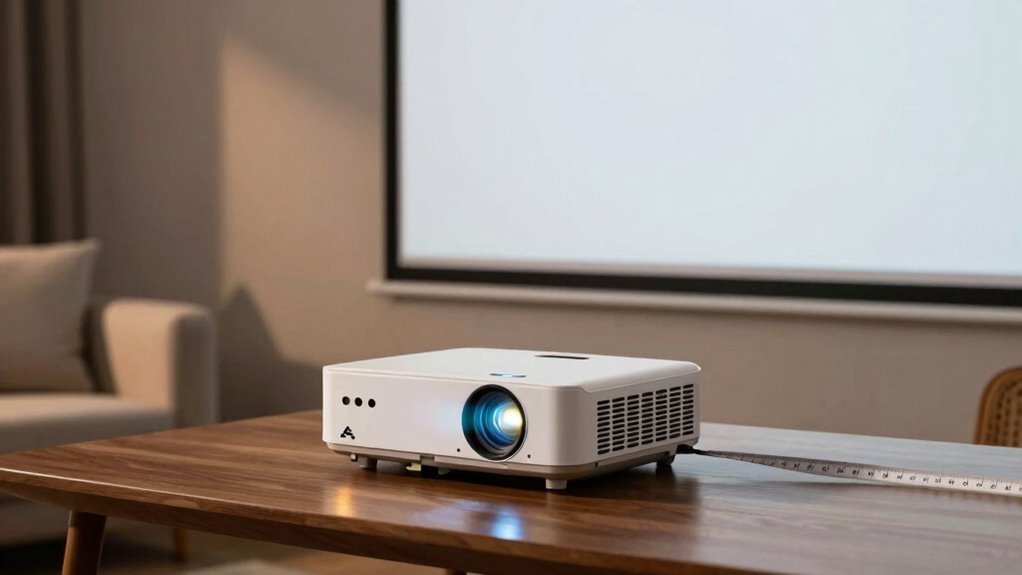
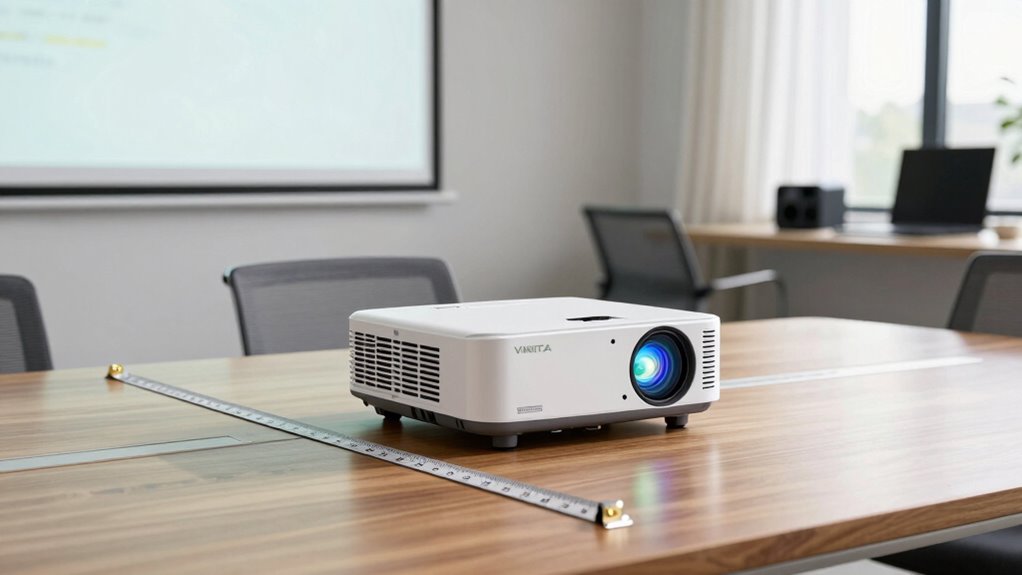
Measuring Projection Distance
Knowing how to measure your projector’s throw distance is essential for setting up an ideal viewing experience. Start by identifying your projector’s throw ratio, which tells you how far it needs to be from the screen to achieve a specific image size. Use measuring techniques like a tape measure or a laser distance measurer to get accurate results. Position the projector at the calculated distance from the screen, ensuring it’s level and aligned properly. Remember, best positioning not only enhances image quality but also affects the overall viewing experience. Double-check your measurements to avoid any surprises during setup. With the right throw distance, you’ll enjoy crystal-clear visuals without straining your eyes.
Calculating Screen Size
Calculating your projector’s throw distance is essential for achieving the right screen size for your space. To start, measure the distance from your projector to the screen. Next, check your projector’s specifications to find its throw ratio, which tells you the relationship between throw distance and screen dimensions. Multiply the throw distance by the throw ratio to determine your ideal screen width. Additionally, understanding the optimal throw ratio can help you choose a projector that fits your needs more effectively.
Keep in mind the aspect ratios—common ones are 16:9 for widescreen or 4:3 for standard displays. Once you know the width, you can calculate the height based on the aspect ratio. This guarantees you get the perfect screen size that fits your room and provides a superb viewing experience. Additionally, consider the optimal viewing distance to ensure a comfortable experience for viewers.

PUTORSEN Universal Soundbar Wall Mount, Dual Wall Mount Brackets for Most of Soundbars, Hold up to 33 lbs, Depth Adjustable 3.5”-6.1”, Black
Excellent Design: This item is an universal wall mounting kit; This Sound Bar bracket compatible with any soundbar...
As an affiliate, we earn on qualifying purchases.
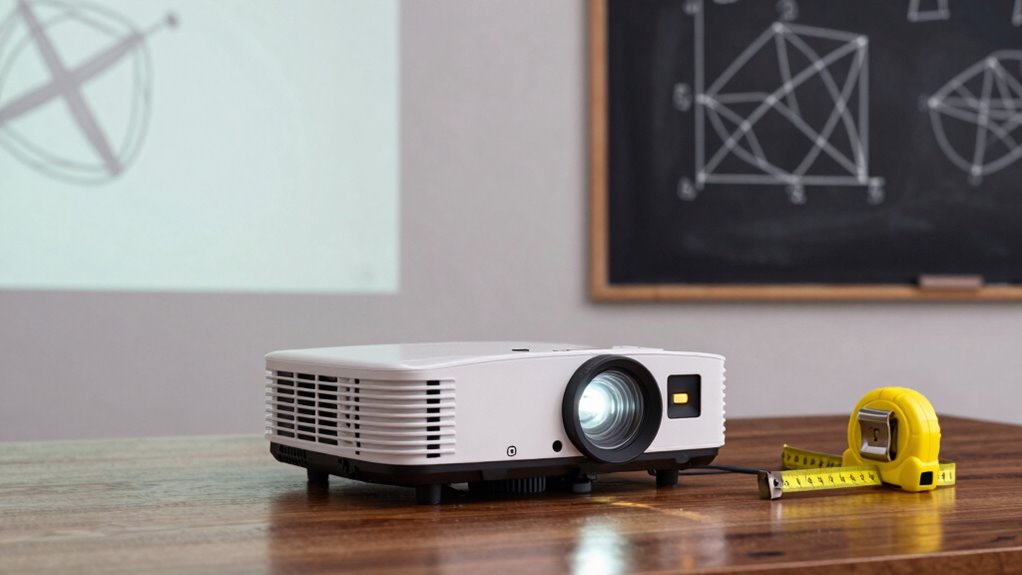
How Throw Ratios Affect Your Projector’s Image Quality
Understanding throw ratios is essential for getting the best image quality from your projector. The throw ratio determines how far you need to place your projector from the screen to achieve a clear and sharp image. If you don’t consider this factor, you might end up with a blurry or distorted picture.
Understanding Throw Ratio
When you’re setting up a projector, the throw ratio plays an essential role in determining how large the image will be based on the distance from the screen. The throw ratio is the ratio of the distance from the projector lens to the screen, divided by the width of the projected image. For instance, a throw ratio of 1.5 means you’ll need 1.5 feet from the lens to project a 1-foot wide image. Understanding this ratio helps you choose the right projector for your space. If you’re too close or too far away, the image may be too small or too large, affecting the overall experience. Always check the throw ratio to verify a suitable setup.
Impact On Image Clarity
The throw ratio not only determines the size of your projected image but also markedly impacts its clarity and overall quality. A projector with a suitable throw ratio for your specific setup guarantees that the image resolution remains sharp, regardless of the viewing distance. If you’re too close to a large image, you might notice pixelation, while sitting too far from a smaller image can make details difficult to discern. Adjusting the throw ratio allows you to find the perfect balance, enhancing visual clarity. Ultimately, understanding how throw ratios influence image quality helps you achieve a better viewing experience, guaranteeing that every detail is crisp and vibrant, whether you’re watching a movie or giving a presentation.

Perlegear Soundbar Mount with Adjustable Height, Sound bar Mount up to 15 lbs, Soundbar Mount Under or Above TV, Soundbar tv Mount Bracket with Detachable Long Extension Plates PGSM04B
Wide Compatibility: With strong metal construction, Perlegear soundbar mount can support up to 15 lbs for reliable stability....
As an affiliate, we earn on qualifying purchases.
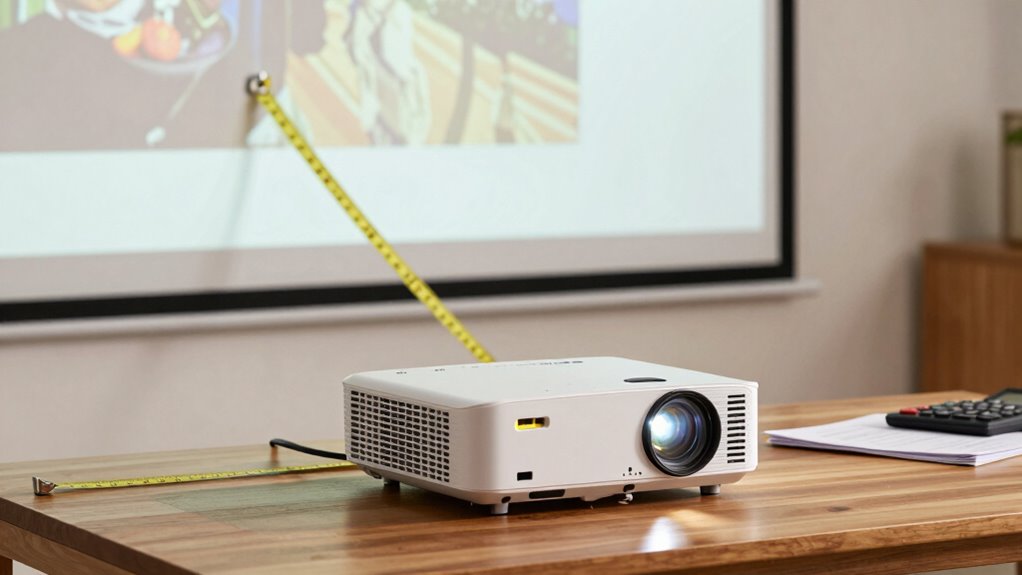
The Link Between Throw Distance and Screen Size

Although many people overlook it, throw distance plays an essential role in determining the ideal screen size for your projector. Understanding the relationship between throw distance and screen compatibility is vital for achieving the best viewing experience. When you know the distance from your projector to the screen, you can calculate the appropriate screen size that guarantees a clear and vibrant image. If you choose a screen that’s too big or too small for your specific throw distance, you might end up with distorted images or excess light spill. To maximize your projector’s performance, always factor in the throw distance when selecting your screen size. This way, you’ll guarantee an ideal setup that enhances your viewing pleasure.
Tips for Avoiding Common Projector Setup Mistakes
Five common projector setup mistakes can easily ruin your viewing experience, but they’re often avoidable. First, don’t underestimate the importance of throw distance; measure it accurately to avoid blurry images, as the optimal throw distance can greatly impact image clarity. Additionally, ensuring your projector is set up in a way that allows for air quality benefits can enhance the overall viewing experience. Second, check your screen placement—if it’s too high or low, you’ll strain your neck. Third, verify your projector’s lens is clean; even small smudges can distort your image. Fourth, avoid common blunders like using the wrong aspect ratio; match it to your content for the best results. Finally, consider ambient light; a dark room enhances the picture quality, so use blackout curtains if necessary. By following these setup tips, you can create an enjoyable and effective projector experience. Additionally, understanding kitchen science can improve your overall home setup, leading to better viewing and cooking experiences. Regularly maintaining your projector’s filtration/suction basics can also prolong its lifespan and performance.
Best Practices for Adjusting Throw Distance in Various Environments
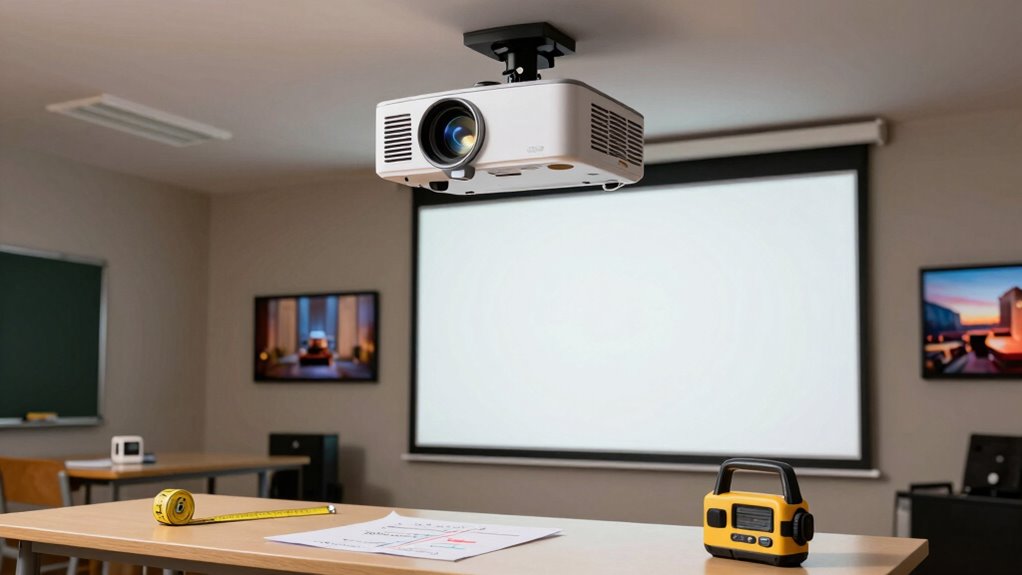
When setting up a projector, adjusting the throw distance to suit your environment is essential for achieving the best image quality. Proper projector placement greatly influences how well the image projects. Here are some best practices to take into account:
Adjusting the throw distance is crucial for optimal projector placement and image quality.
- Measure your space: Know the distance between the projector and the screen to verify it fits your environment considerations.
- Take into account ambient light: In brighter environments, you may need a shorter throw distance to maintain clarity and contrast.
- Adjust for screen size: Make sure the projector is placed at the right distance for the desired screen size; this affects both the throw ratio and image quality. Additionally, consider room layout when positioning your projector, as it can significantly impact viewing angles and overall experience.
Choosing the Right Projector Based on Throw Distance
Choosing the right projector based on throw distance can greatly enhance your viewing experience. Different projector types have varying distance limitations that can considerably affect your setup. Here’s a quick reference to help you decide:
| Projector Type | Recommended Throw Distance |
|---|---|
| Short Throw | 3 to 8 feet |
| Standard Throw | 8 to 12 feet |
| Long Throw | 12 to 25 feet |
| Ultra Short Throw | Less than 3 feet |
| Long-Throw Zoom | 10 to 30 feet |
Understanding these specifications enables you to choose a projector that fits your room size and viewing preferences. By matching the projector type with the appropriate throw distance, you’ll guarantee a clearer, more enjoyable image on your screen. Additionally, consider that cabling solutions play a crucial role in maintaining optimal projector performance. A well-planned home entertainment setup can further elevate your overall viewing experience. Integrating smart home technology can also streamline your projector’s operation and enhance convenience. Properly adjusting your lighting conditions can also significantly improve the visual quality of your projection.
How to Troubleshoot Projection Issues Related to Throw Distance?

If you notice issues with your projector’s image quality or size, it may be related to the throw distance. To troubleshoot, check for common setup errors that could lead to image distortion. Here’s what you can do:
- Measure the distance: Verify your projector is at the correct distance from the screen as per its specifications.
- Adjust the zoom: If the image appears too large or small, adjust the zoom feature to fit your screen properly.
- Inspect the lens: A dirty or damaged lens can cause distortion, so clean it carefully or replace it if necessary.
Frequently Asked Questions
Can I Use a Projector in Bright Rooms Effectively?
You can use a projector in bright rooms effectively, but you’ll need a high-brightness model. Projector brightness is key; look for one with at least 3,000 lumens to combat ambient light. Position it strategically to minimize glare, and consider using a screen designed for high ambient light environments. While it’s possible, achieving a clear image requires careful selection and setup to guarantee you get the best viewing experience.
What Is the Ideal Projector Height for Optimal Viewing?
To get the best experience, you should mount your projector at about eye level or slightly above, ideally around 8 to 10 feet high. This way, you’ll enjoy ideal viewing angles and avoid neck strain. Consider various projector mounting options, like ceiling mounts or brackets, to achieve this height. Just make sure the projector’s lens aligns with your screen for a crystal-clear picture. You’ll be amazed at how much this improves your movie nights!
How Do I Clean My Projector Lens Properly?
To clean your projector lens properly, start by turning off the projector and letting it cool. Use a microfiber cloth to gently wipe the lens, avoiding any abrasive materials. For stubborn smudges, lightly dampen the cloth with lens cleaning solution or distilled water. Always avoid spraying directly onto the lens. Regular maintenance tips include checking for dust buildup and cleaning the lens every few months to guarantee peak image quality.
Does Projector Distance Affect Sound Quality?
Yes, projector distance can affect sound quality. When you position your projector too far from the screen, it can impact projector acoustics, making the sound feel less immersive. The distance impacts how well audio travels, leading to potential delays or echo effects. To guarantee the best sound quality, keep your projector at the recommended distance from the screen and consider using external speakers for a more robust audio experience.
Can I Use a Projector Outdoors During the Day?
Yes, you can use a projector outdoors during the day, but daytime visibility can be a challenge. To get the best results, invest in outdoor projectors specifically designed for high brightness. These projectors typically have higher lumen ratings, making them more effective in bright conditions. Make sure to choose a shaded area or wait for the evening for ideal viewing. With the right equipment, you’ll enjoy a great outdoor movie experience!
Conclusion
In the world of projectors, knowing your throw distance can be the difference between crystal-clear images and a frustrating blur. By mastering this key element, you’ll not only enhance your viewing experience but also avoid common pitfalls that can dim your setup. So, whether you’re adjusting for a home theater or a corporate presentation, keep your throw distance in check, and let your projector shine like a beacon of clarity. Happy projecting!