To calibrate your brightness and contrast in five minutes, start by choosing a well-lit, glare-free spot. Open your device’s display settings and adjust the brightness so it’s comfortable and reduces eye strain, then tweak the contrast to enhance shadows and highlights. Use built-in calibration tools or reference images to fine-tune colors easily. Regularly testing with photos or videos guarantees your display remains accurate. Keep these tips in mind to optimize your viewing experience whenever you need a quick setup.
Key Takeaways
- Use built-in calibration tools or test patterns to quickly adjust brightness and contrast settings.
- Set brightness so blacks are distinguishable without losing detail in dark areas.
- Adjust contrast to enhance image depth, ensuring highlights do not become overly bright or washed out.
- Use reference images or test patterns to visually verify optimal balance within a few minutes.
- Save your settings and perform quick checks in different lighting conditions to maintain calibration.

Epson Expression Photo HD XP-15000 Wireless Color Wide-Format Printer, Amazon Dash Replenishment Ready, Black, Large
Epson printing system is designed to be used exclusively with Epson Genuine Cartridges. Use of non-genuine ink could...
As an affiliate, we earn on qualifying purchases.
Why Calibrating Your Screen Brightness and Contrast Matters
Calibrating your screen’s brightness and contrast is essential because it guarantees you see images and text accurately. Proper calibration improves color accuracy, making colors look natural and consistent across your display. When your brightness and contrast are set correctly, you reduce strain on your eyes, enhancing eye comfort during extended use. Without proper calibration, colors can appear washed out or overly saturated, and details may be lost, which can cause fatigue and discomfort. Achieving the right balance ensures that you view content as intended, whether for work, gaming, or creative projects. Prioritizing calibration helps you maintain visual clarity and reduces eye strain, making your screen experience more comfortable and effective. It’s a quick step that considerably impacts your overall viewing quality. Understanding display calibration is key to optimizing your visual experience. Additionally, color accuracy plays a vital role in ensuring that your display reflects true-to-life images and details.

Canon imagePROGRAF TC-21 24" - Large Format Printer, Poster & Plotter Printer, Automatic Roll & Cut Sheet Paper Feeder, Includes 280 ml of Ink, White
Quality Prints: The 4-color ink printer delivers crisp text and vibrant images for attention grabbing posters on a...
As an affiliate, we earn on qualifying purchases.
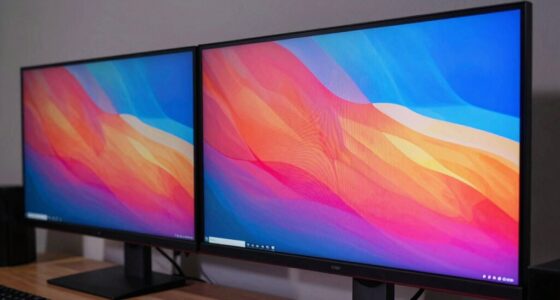
Pick a Good Spot : Find a Suitable Environment for Calibration
Choosing the right environment for calibration guarantees you obtain accurate results. Find a spot with consistent ambient light—avoid glare or direct sunlight—that won’t distort your screen’s brightness. Sit comfortably at your usual viewing position, ensuring your seating aligns with how you’ll use the display daily. A suitable environment minimizes external influences, making calibration more precise. Additionally, controlling the lighting conditions can significantly enhance calibration accuracy. Ensuring optimal indoor air quality can also reduce dust and humidity fluctuations that indirectly affect your viewing experience. Maintaining a stable ambient environment helps prevent fluctuations that might interfere with the calibration process.

Canon imagePROGRAF Professional 13" PRO-310 Wireless Inkjet Photo Printer with 3.0-Inch Color LCD Monitor, 9 Color Pigment-Based Ink System, Black
9 COLOR + CHROMA OPTIMIZER pigment-based ink system produces gallery-quality prints.
As an affiliate, we earn on qualifying purchases.
Gather Your Tools and Settings for Fast Calibration
To guarantee a quick and effective calibration process, gather all the necessary tools and adjust your settings beforehand. Start by selecting reliable calibration software compatible with your device, ensuring it has features to fine-tune color temperature and contrast. Have a calibration disk or test images ready if needed. Adjust your display’s basic settings, like brightness and contrast, to a neutral starting point. Check that your environment lighting matches your typical usage conditions. Set your color temperature to a neutral value, usually around 6500K, for accurate colors. Knowing how to properly calibrate your display can significantly improve your viewing experience. Additionally, understanding display settings and how they influence image quality can help you achieve optimal results. Familiarizing yourself with cabling solutions and ensuring all connections are secure can prevent signal issues during calibration. Having these tools and settings prepared allows you to assure you can to streamline the calibration process, saving time and reducing errors. This preparation ensures you can focus on fine-tuning your display quickly and effectively.

HP DesignJet T210 Large Format 24-inch Color Plotter Printer for Easy Wide CAD & Poster Prints (8AG32D)
Ideal for: Technical line drawings, renders requiring precise, accurate line-quality and crisp text, posters, maps, and professional sewing...
As an affiliate, we earn on qualifying purchases.
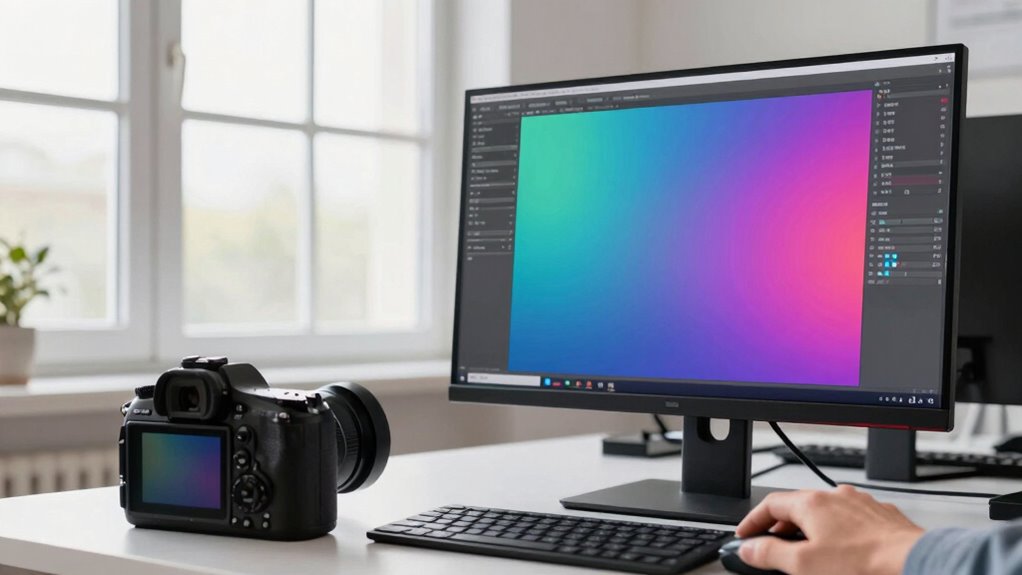
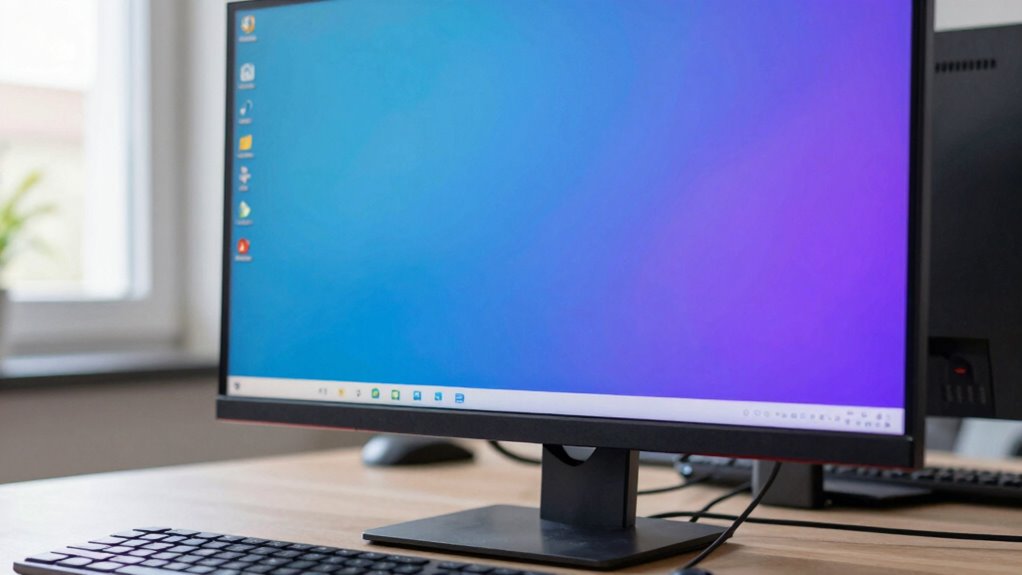
Open Your Display Settings (Windows, Mac, or Your Device)

Once you’ve gathered your tools and set your initial display parameters, the next step is to open your device’s display settings. On Windows, right-click on the desktop and select “Display settings”; on Mac, go to System Preferences > Displays. Here, you can adjust your display resolution for clarity and sharpness. Make sure your resolution matches your monitor’s native setting for the best results. Additionally, explore the color profiles—these control how colors are displayed. Choose a profile that suits your environment or calibration goals, such as sRGB or Adobe RGB. Accessing these settings allows you to fine-tune your display’s color rendering and resolution, creating a better foundation for brightness and contrast adjustments. Accurate display settings ensure your calibration is precise and effective.
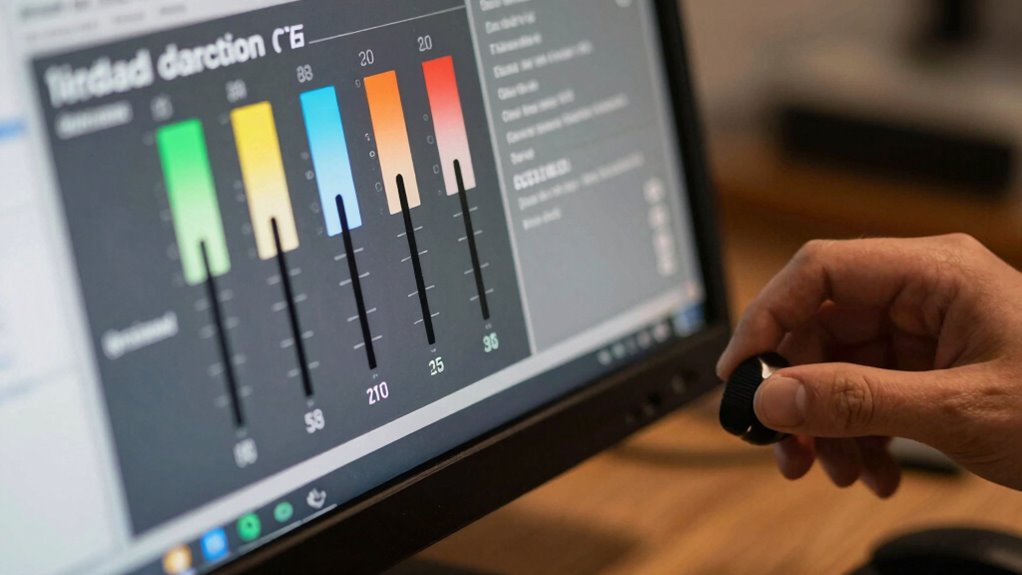
Adjust Brightness to Reduce Eye Strain and Improve Visibility
Adjusting your screen brightness can considerably reduce eye strain and make your display easier to see. You should set the brightness level to match your environment, avoiding screens that are too bright or too dim. Using ambient lighting helps create a comfortable viewing experience and minimizes glare. Being mindful of microplastics in dust can also contribute to a healthier indoor environment, indirectly supporting better eye comfort and overall well-being. Additionally, understanding the importance of contrast ratio can help you optimize your display settings for clearer images and less eye fatigue. Awareness of digital display settings can further enhance your comfort by allowing precise adjustments tailored to your surroundings. Considering battery inverter capacity can ensure your devices operate smoothly without frequent recharging, maintaining consistent display performance. Proper calibration of brightness and contrast can also prevent eye discomfort caused by improper lighting conditions, leading to a more comfortable viewing experience.
Adjust Brightness Level
Have you noticed how screen brightness can affect your eyes and overall comfort? Adjusting the brightness level helps reduce eye strain and improves visibility. Start by lowering brightness so that the screen isn’t too harsh or dim. Pay attention to the color temperature—warmer tones are easier on your eyes, especially in low-light conditions. If your screen has a brightness slider, use it to find a balance that matches your surroundings. Screen dimming features can also help prevent glare and flickering, making prolonged use more comfortable. Remember, the goal is to set a brightness level that feels natural and doesn’t require extra effort to see details clearly. Properly calibrated brightness minimizes fatigue and enhances your overall viewing experience. For optimal comfort, consider adjusting screen settings to match your environment and personal preferences. Additionally, being aware of visual ergonomics can further improve your viewing comfort.
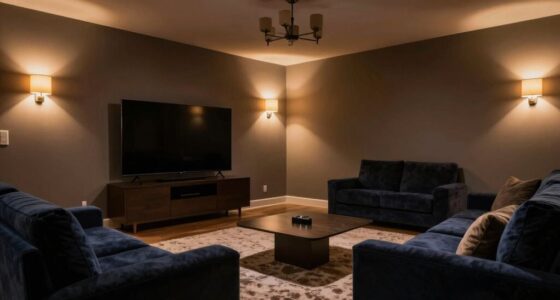
Use Ambient Lighting
Using ambient lighting effectively can considerably reduce eye strain and enhance visibility when working or viewing screens. Proper ambient lighting minimizes harsh contrasts and prevents screen reflections, which can cause discomfort. To optimize your environment: 1. Position your light sources behind or beside your screen, avoiding direct glare. 2. Use soft, diffused lighting to balance brightness levels and reduce reflections. 3. Adjust the ambient lighting to match your screen’s brightness, creating a comfortable viewing zone. Incorporating natural light into your space can further enhance overall well-being and create a cozy atmosphere. Additionally, understanding how ambient lighting interacts with your overall space can help prevent issues like glare or insufficient illumination. Paying attention to lighting placement ensures that your workspace remains comfortable and reduces visual fatigue. Recognizing the importance of visual ergonomics can guide you in setting up an optimal environment for prolonged screen use. Being aware of household safety principles can also help you create a safer, more comfortable environment for extended screen time.
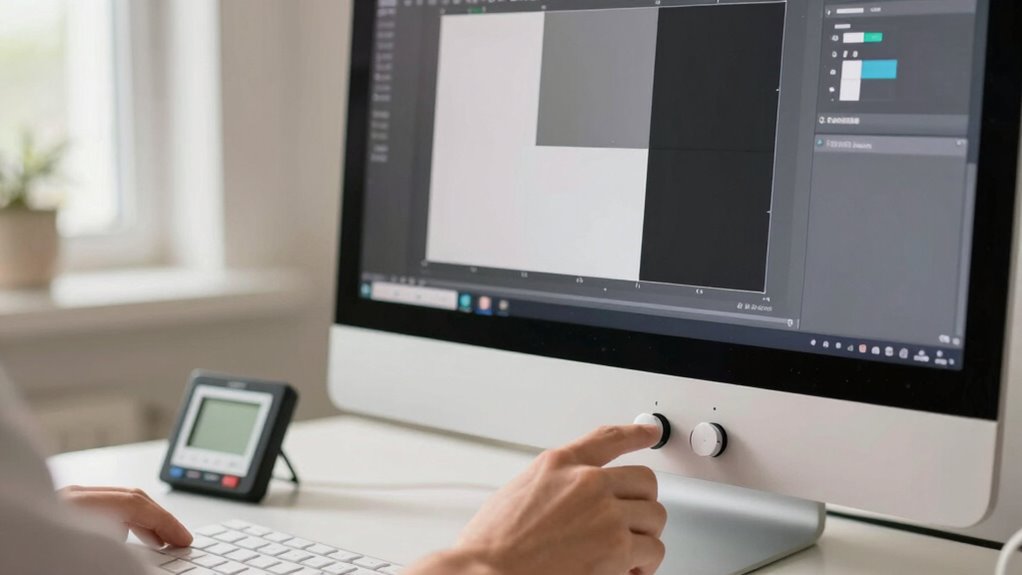
Fine-Tune Contrast for Better Color Depth and Clarity
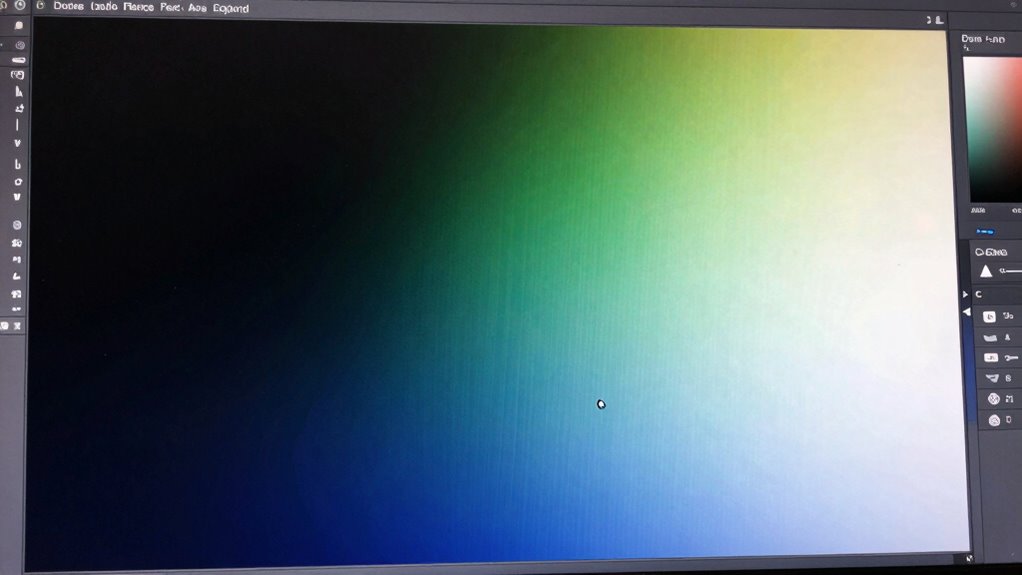
Fine-tuning your contrast settings can substantially enhance your display’s color depth and overall image clarity. When you adjust contrast properly, you improve the distinction between dark and light areas, making colors appear richer and more vibrant. This adjustment helps prevent images from looking washed out or overly harsh, resulting in a more natural and detailed picture. To fine-tune, set your contrast so that the darkest areas remain distinguishable without losing detail, and the brightest whites don’t become blinding. Focus on achieving a balanced image where details in shadows and highlights are clear. Proper contrast adjustment boosts color depth, making images more lifelike, and sharpens overall clarity, ensuring you see every detail clearly. Using the right tools can help you make precise adjustments and avoid common calibration mistakes. This step is essential for an ideal viewing experience that makes your images truly pop.
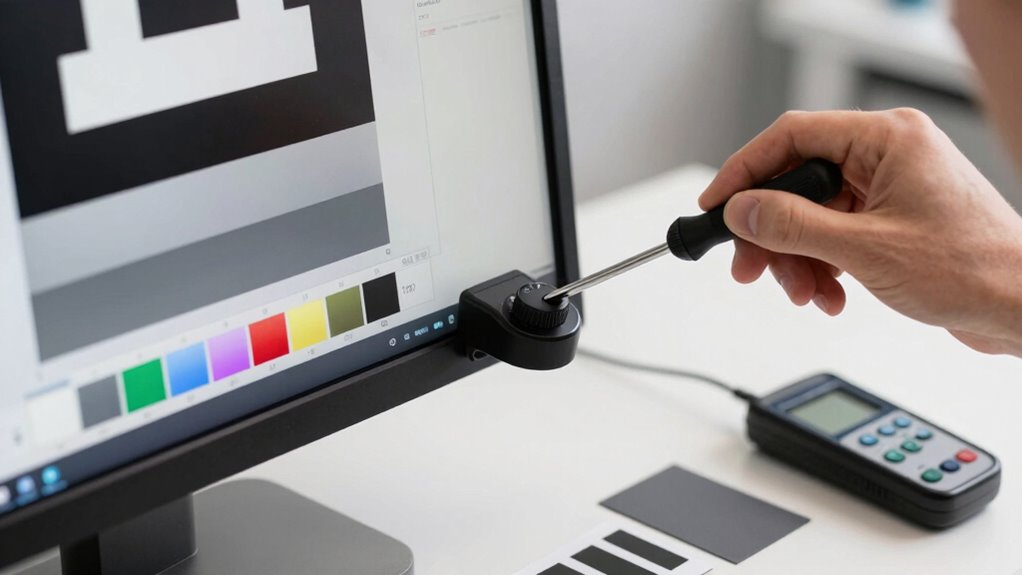
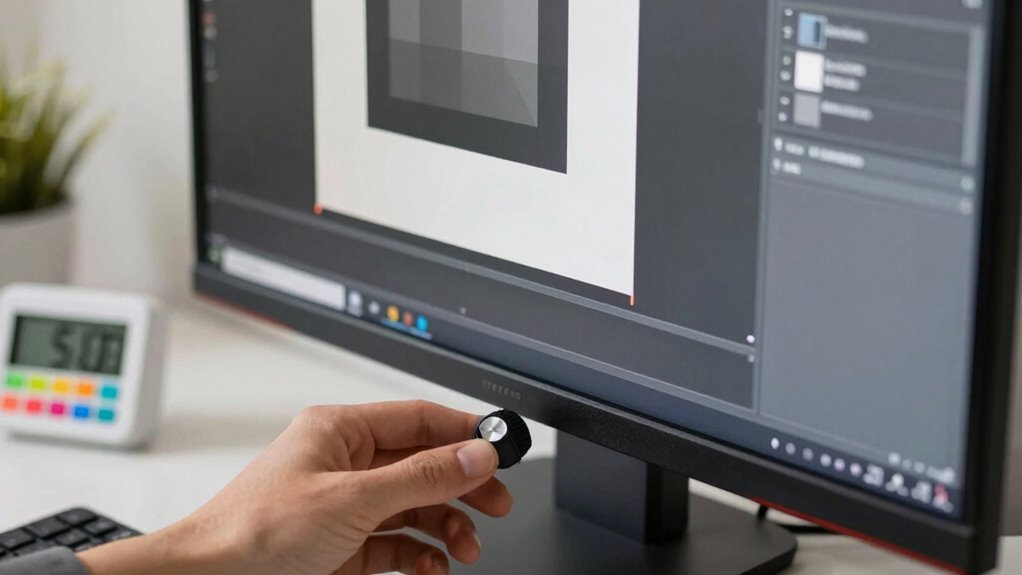
Use Built-In Calibration Tools or Reference Images for Accuracy

Many displays come with built-in calibration tools that make adjusting brightness and contrast straightforward. Alternatively, using reference images can help you achieve accurate settings by providing visual benchmarks. Both options can improve your calibration process and guarantee consistent, true-to-life colors.
Built-In Tools Overview
Are you unsure how to accurately calibrate your display’s brightness and contrast? Many devices have built-in calibration tools that simplify this process. These tools typically include options to adjust color temperature, ensuring whites appear natural, and gamma correction, which influences image contrast and detail. To make the most of these tools, keep these points in mind:
- Follow the on-screen instructions carefully to avoid skewed results.
- Use the built-in test patterns to fine-tune brightness and contrast settings.
- Utilize the preset calibration options if available, then manually adjust for ideal color temperature and gamma correction.
These built-in tools often include visual guides or reference images, making calibration straightforward and accurate without external resources.
Using Reference Images
Have you ever wondered how to guarantee your display looks its best without guesswork? Using reference images is a proven way to improve color accuracy and ensure consistent viewing angles. By comparing your screen to a standard image designed for calibration, you can fine-tune brightness and contrast more precisely. Many built-in calibration tools include reference images, making it easy to identify deviations in color or contrast. When you match your display to these images, you’ll notice improved clarity and more accurate colors across different viewing angles. This method helps you avoid common calibration errors, guaranteeing your screen looks great from all positions. In just a few minutes, reference images provide a reliable, visual benchmark for achieving professional-level calibration at home.
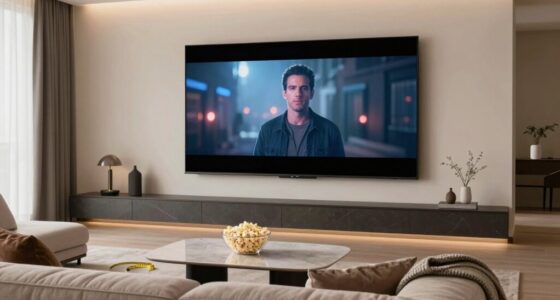
Test Your Calibration With Photos, Videos, and Web Content

Wondering if your calibration hits the mark? Testing with photos, videos, and web content helps guarantee your display offers accurate color and ideal eye comfort. To check your calibration:
Test your display with photos, videos, and web content to ensure accurate colors and comfortable viewing.
- View high-contrast images and compare color accuracy against known references.
- Watch videos with varying brightness levels to see if details are preserved without straining your eyes.
- Browse web pages with dark and bright backgrounds to evaluate eye comfort over longer periods.
If colors look vivid and true, and you don’t experience eye fatigue, your calibration is on point. Adjustments should enhance your viewing experience without sacrificing clarity or causing discomfort. Regular testing with real content ensures your display stays calibrated for both vibrant visuals and comfortable viewing.
Save Your Settings and Check Them Regularly
Once you’ve calibrated your display and confirmed it produces accurate colors and comfortable viewing, the next step is to save those settings. Saving preferences ensures you don’t have to recalibrate each time and maintains consistency. To stay on top of your display quality, perform routine checks periodically, especially if lighting conditions change. Use this simple table to track your preferences and check dates:
| Date | Calibration Level | Notes |
|---|---|---|
| 2024-04-01 | Brightness & Contrast set | No adjustments needed |
| 2024-05-01 | Routine check completed | Slight brightness tweak |
| 2024-06-01 | Settings stable | No issues |
| 2024-07-01 | Routine check due | Schedule recalibration |
| 2024-08-01 | Settings confirmed | All good |
Regular routine checks help you maintain peak display quality effortlessly.
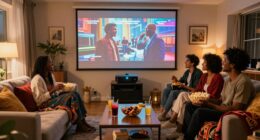
Tips to Keep Your Screen Calibrated and Comfortable Over Time
To keep your screen calibrated and comfortable over time, it’s essential to make small adjustments as lighting conditions and your viewing habits change. Proper display calibration and ongoing screen optimization prevent eye strain and maintain image quality.
Here are three tips to help you stay on track:
- Regularly reevaluate brightness and contrast settings, especially when moving to different environments.
- Use ambient lighting to reduce glare and adjust your screen’s backlight accordingly.
- Periodically run calibration tools or check your display with color and contrast tests to ensure accurate colors and consistent image quality.
Frequently Asked Questions
Can Calibration Improve Gaming or Professional Photo Editing Performance?
Calibration definitely improves your gaming and photo editing performance by enhancing display accuracy and ensuring color consistency. When you calibrate, your screen shows true colors and correct brightness levels, making images look more realistic and details clearer. This helps you spot subtle differences in photos or gameplay, giving you a competitive edge or creating professional-quality edits. Overall, proper calibration makes your display more reliable, ensuring you get the best visual experience every time.
How Often Should I Recalibrate My Screen?
You should recalibrate your display every 4 to 6 weeks to maintain ideal color consistency and guarantee accurate display calibration. If you notice color shifts, dimness, or inconsistent brightness, it’s time to recalibrate. Regular calibration helps you keep your display aligned with your needs, whether for professional photo editing or gaming. Consistent calibration ensures your colors stay true and your screen performs reliably over time.
Are There Any Risks of Calibrating Too Often or Incorrectly?
Calibrating too often or incorrectly can lead to overcalibration issues, causing your display to look unnatural or distorted. Frequent calibration isn’t necessary unless your environment changes greatly. Stick to a regular calibration schedule based on your usage, but avoid overdoing it, as it might degrade color accuracy over time. Proper calibration guarantees consistent visuals without risking damage or unwanted adjustments, maintaining ideal display quality.
What Are the Best Calibration Tools for Budget Users?
Think of budget tools as your trusty compass on a budget adventure—reliable without breaking the bank. For calibration accuracy, consider options like the X-Rite i1Display Studio or SpyderX Elite, which offer solid performance at lower prices. These tools are user-friendly, providing precise results so you can confidently optimize your display. With the right budget calibration tool, you’ll keep your visuals sharp without overspending, ensuring a better viewing experience.
Does Ambient Lighting Affect Calibration Accuracy?
Ambient lighting definitely affects calibration accuracy, so you should calibrate your display in consistent lighting conditions. Bright or fluctuating ambient light can skew your calibration results and reduce calibration consistency over time. To get the best accuracy, perform calibration in a room with stable, subdued lighting. This way, your screen’s brightness and contrast settings will stay consistent, ensuring your display looks great regardless of changes in ambient lighting.
Conclusion
Now that you’ve calibrated your screen, imagine the perfect balance of brightness and contrast waiting to enhance every photo, video, and webpage. But don’t forget—your eyes and device change over time. Will your settings stay sharp and comfortable as days pass? Keep a habit of quick checks, and you’ll uncover a seamless viewing experience that keeps you immersed and strain-free. The secret to lasting clarity is just a simple tweak away—are you ready to master it?