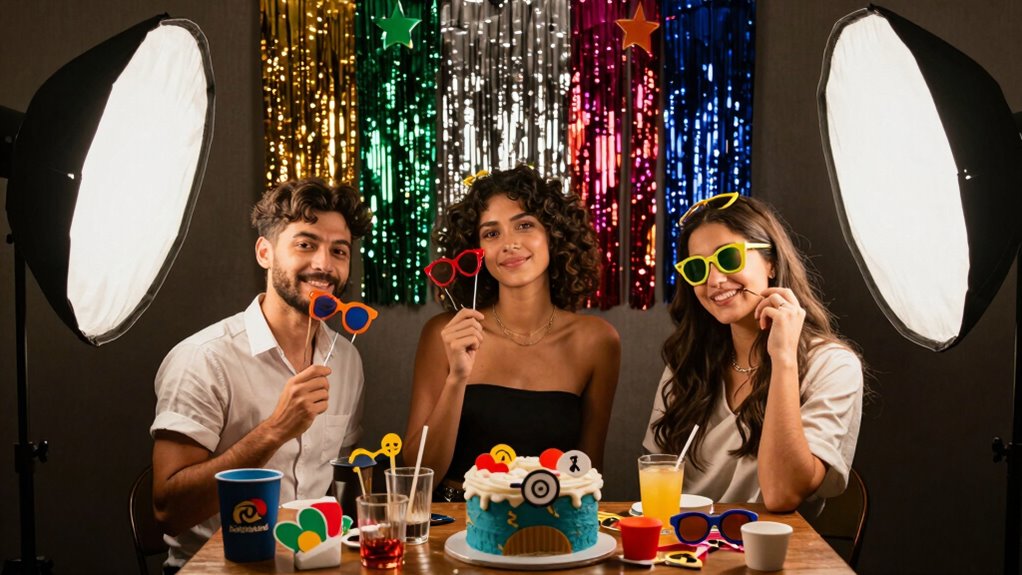
For stunning party photos, you can’t underestimate the importance of lighting. Choose a location with ample space and soft, natural light for flattering images. If you’re indoors, use softboxes or LED lights positioned to avoid harsh shadows. Clutter-free backgrounds help keep the focus on your subjects. Experiment with different lighting setups to find what works best for your corner. Keep these tips in mind, and you’ll uncover even more ways to elevate your party photography.
Key Takeaways
- Utilize natural light for soft, flattering illumination, especially in outdoor party settings.
- Position softboxes at a 45-degree angle to create depth and minimize harsh shadows.
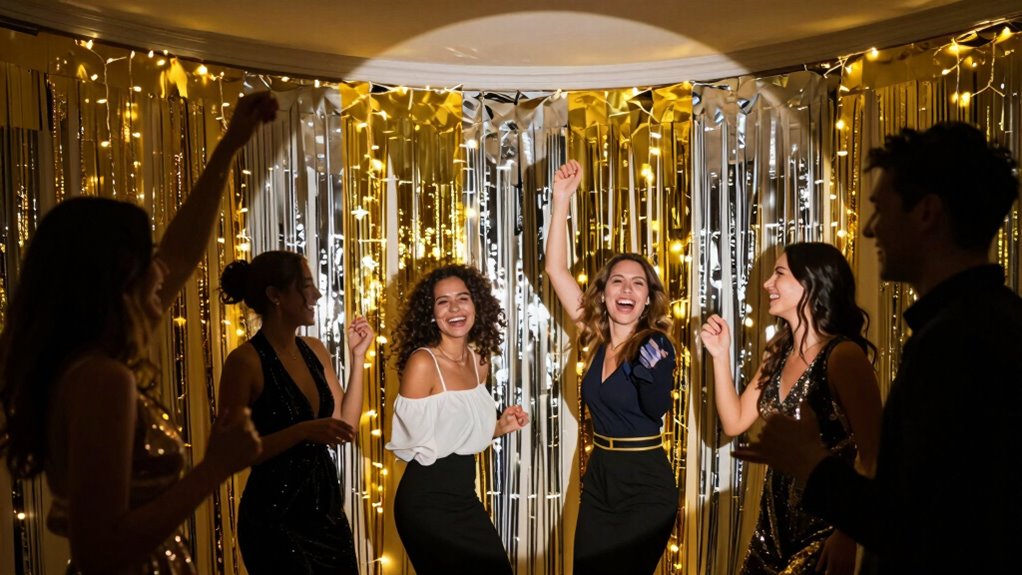
- Incorporate LED strips for accent lighting to enhance the atmosphere of the photo corner.
- Choose clutter-free backgrounds to keep the focus on the subjects and improve photo quality.
- Experiment with light placements and intensities to find the most appealing setup for your party photos.
Alkkign Cinema Neon Sign Arrow Neon Light for Wall Decor Movie Theater Led Neon Signs Movie Led Neon Lights for Home Theater Film Room Commercial Theater Store Decoration
Safe&Durable: Cinema arrow neon sign is made of high-quality acrylic and LED light strips. The cinema neon light...
As an affiliate, we earn on qualifying purchases.
Why Lighting Matters for Stunning Party Photos
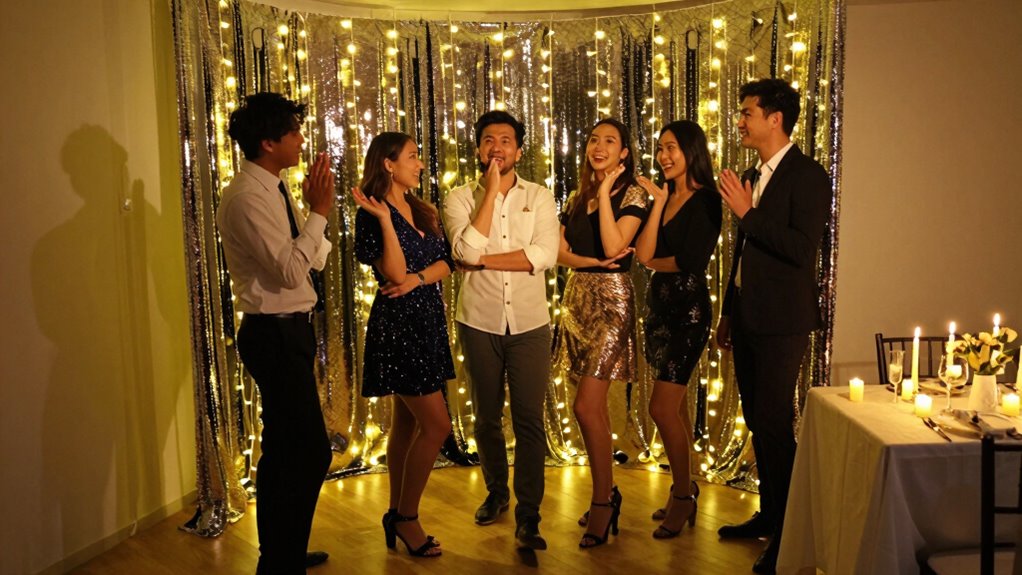
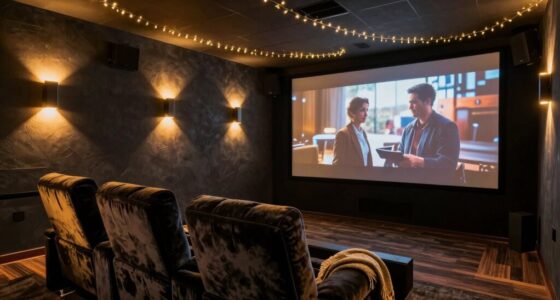
When it comes to capturing stunning party photos, lighting is your best friend. The right lighting techniques can drastically improve your photo quality, making everything look more vibrant and appealing. Natural light is an excellent option; it creates soft, flattering shadows that enhance your subjects. If you’re indoors, consider using lamps or string lights to add warmth and depth. Avoid harsh overhead lights that can cast unflattering shadows. Experiment with backlighting for a dreamy effect, or use reflectors to bounce light onto your subjects. By mastering these lighting techniques, you’ll not only elevate the ambiance but also guarantee each shot captures the fun and excitement of the party. So, pay attention to lighting, and your photos will shine!

1985 Games Premium Mystery Dice, Set of 7 Polyhedral Dice, DND Dice Set, Premium RPG Dice, Suitable for Role Playing, Table Games (Premium Mystery Pack of 1)
POLYHEDRAL DICE SET: Enjoy hours of fun with this premium mystery dice set, which includes seven polyhedral dice....
As an affiliate, we earn on qualifying purchases.
How to Choose the Best Location for Your Photo Corner
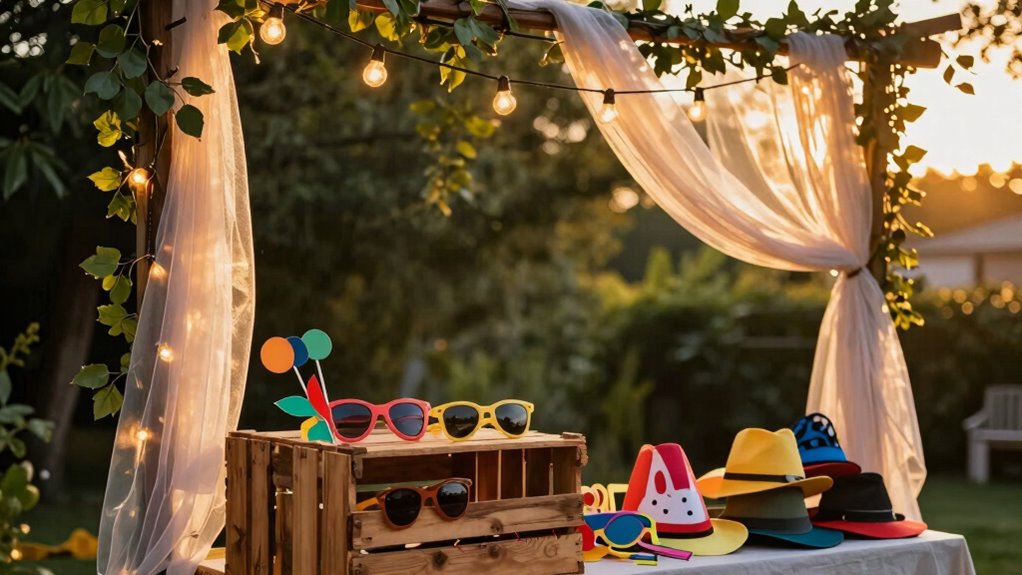
How do you find the perfect spot for your photo corner? Start by scouting locations that offer ample space and good visibility. Look for areas away from heavy foot traffic, so you and your guests can pose without distractions. Natural backdrops, like a garden or a decorated wall, can elevate your photos. Consider the surrounding elements—props, decorations, and texture add flair to your setup.
Additionally, choosing a location that encourages calm, clutter-light environments can make your photo corner even more appealing. Incorporating natural light into your setup can create a warm and inviting atmosphere for your guests. Next, think about the floor surface; a stable, even ground is essential for your equipment and guests. Finally, make sure there’s enough room for lighting setups if you plan to use them. Additionally, consider how astrological compatibility may enhance your guests’ comfort and willingness to pose for pictures. Once you’ve identified a few promising spots during your location scouting, you’ll be well on your way to creating an inviting photo corner!

Luck Lab Grade AAA 19mm Casino Dice with Razor Edges and Matching Serial Numbers Set of 5 and Leather Dice Case (Red)
GRADE AAA DICE: These 19mm precision dice meet or exceed all exacting casino dice specifications for precision. Dimensions...
As an affiliate, we earn on qualifying purchases.
Natural vs. Artificial Light: Which Is Best for Your Photos?
Which type of lighting will enhance your photos more, natural or artificial? Natural light often creates a soft, flattering glow that makes colors pop and skin tones look vibrant. It’s perfect for outdoor settings or near windows during the golden hour. However, it can be unpredictable and depends on weather conditions. On the other hand, artificial light gives you control over brightness and direction, allowing you to create a specific mood. You can use softboxes or LED lights to mimic natural light, but you might need to adjust settings to avoid harsh shadows. Additionally, understanding home comfort and air quality can help you create a more pleasant environment for your photo corner. Ultimately, it depends on your style and the atmosphere you want to capture. Experiment with both types to see which works best for your unique photo corner!

Matt Red DND Metal Dice, DNDND 7 PCS Heavy Metallic D&D Dice Set with Gorgeous Gift Case for Dungeons and Dragon Tabletop Game (Matte Red with White Flower)
Flower Metal Dice Set: One set flower dice total 7 pcs including D4, D6, D8, D10, D12, D20...
As an affiliate, we earn on qualifying purchases.
Best Practices for Setting Up Lighting in Your Photo Corner
Creating an effective lighting setup in your photo corner can dramatically improve your images. Start by using softboxes setup to diffuse harsh light, providing a soft and even illumination that flatters your subjects. Position the softboxes at a 45-degree angle to your backdrop to create depth and dimension in your photos.
Next, consider incorporating LED strips along the edges of your photo corner. These can add a pop of color or accent lighting, enhancing the overall atmosphere. Make sure to adjust the brightness of your LED strips so they complement the softboxes without overpowering them.
Experiment with different placements and intensities to find what works best for your style, and watch your photos come to life! Additionally, understanding lighting fundamentals can further enhance your photography skills and results.
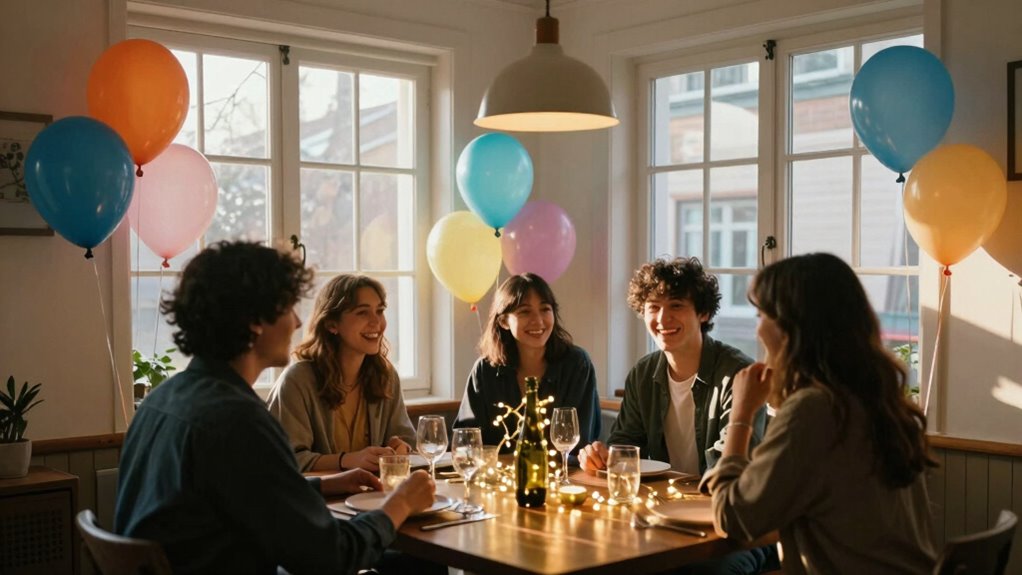
Enhancing Your Photo Corner With Accessories and Reflectors
While setting up your photo corner, incorporating accessories and reflectors can greatly elevate your lighting game. Start with your accessory selection; vibrant props like balloons or themed backdrops can add visual interest and enhance the mood. Experiment with different textures and colors to make your photos pop. Additionally, using studio dividers can help control the environment and minimize unwanted distractions in the background. A well-structured space can also benefit from air quality management, ensuring a comfortable atmosphere for guests. Moreover, creating a space that promotes wellbeing can enhance the overall experience for everyone involved. Consider incorporating a pizza oven setup nearby to provide delicious snacks, which can make the photo corner even more inviting.
Next, consider reflector types to bounce light effectively. A simple white foam board works well for diffusing harsh light, while silver reflectors can intensify brightness for more striking images. Position your reflectors strategically to fill shadows and create a balanced lighting effect. Combining these elements not only boosts your photo corner’s aesthetic but also improves the overall quality of your pictures, ensuring every shot captures the moment perfectly. Additionally, ergonomics principles suggest that creating a comfortable environment can enhance creativity and enjoyment during your photo sessions.
Common Mistakes That Ruin Your Photos
When you’re taking photos, poor lighting choices can lead to dull or overly harsh images that don’t capture the moment well. Additionally, a cluttered background can distract from your subject, making your photos feel chaotic. Let’s explore these common mistakes and how to avoid them for better results.
Poor Lighting Choices
Lighting can make or break your photos, so it’s important to avoid common mistakes that lead to poor choices. One major pitfall is using harsh lighting angles, which can create unflattering shadow effects on your subjects. Instead, aim for soft, diffused light that highlights features without casting strong shadows. Position your light source at eye level for a more natural look, and avoid overhead lighting that can distort your subject’s appearance. Also, be mindful of the color temperature of your lights; mixing different types can result in awkward color casts. By carefully considering your lighting choices, you’ll enhance the quality of your photos and make certain your subjects look their best.
Cluttered Backgrounds
A cluttered background can easily distract from your subject, making even the most well-composed shot fall flat. When you’re capturing moments, take a moment to assess your surroundings. Look for visual distractions like busy patterns, random objects, or chaotic arrangements that compete for attention. If your background is too busy, it’ll pull focus away from your subject, leading to less impactful photos. Aim for simplicity by choosing a clean, uncluttered backdrop. This way, your subject stands out and tells the story you want to convey. If you can’t find a suitable spot, consider creating your own by using fabric or props to minimize clutter. Remember, a clear background enhances your photography and elevates your images.
Frequently Asked Questions
How Do I Encourage Guests to Use the Photo Corner?
To encourage guests to use the photo corner, create enticing guest incentives like fun props or a small contest for the best picture. Make sure to place eye-catching photo corner signs that highlight these incentives. You could even offer a prize for the most creative photo! Position the corner in a prominent area, ensuring it’s well-lit and inviting, so guests can’t resist capturing those memorable moments.
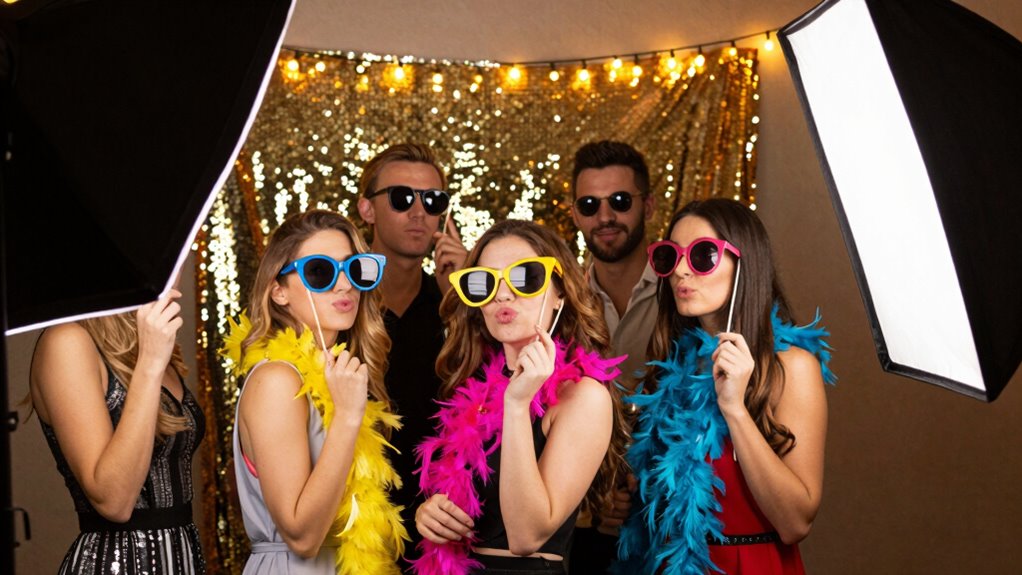
What Props Work Best for Party Photo Corners?
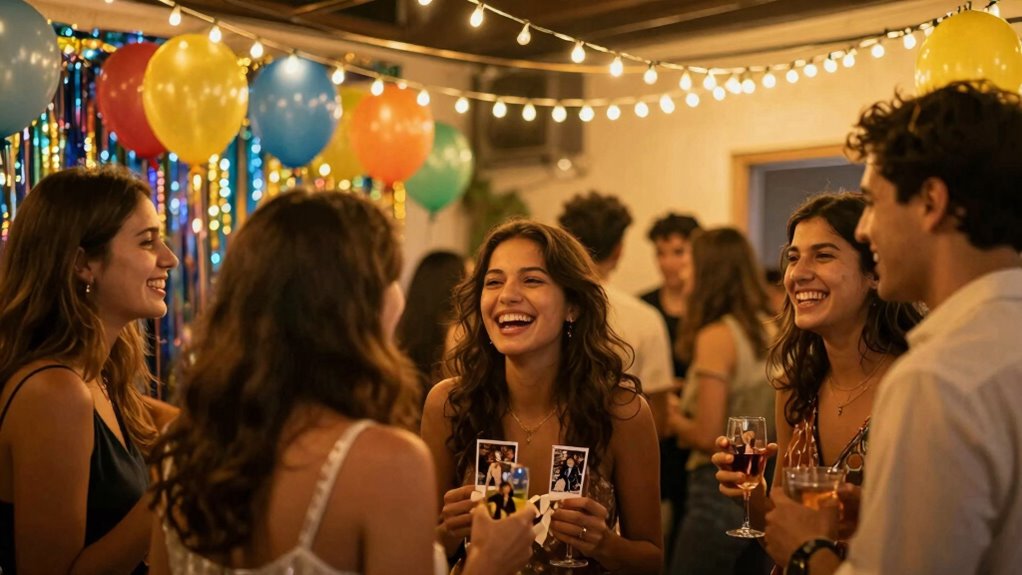
The best props for your party photo corners include themed backgrounds and fun accessories. Choose vibrant backdrops that match your party’s theme, like a tropical scene or a glittery night sky. Offer playful props like oversized sunglasses, silly hats, or colorful balloons to spark creativity. Encourage guests to mix and match these accessories for unique photos. With the right combination, your photo corner will become a hit, capturing memorable moments all night long!
Can I Use My Phone for High-Quality Photos?
Absolutely, you can use your phone for high-quality photos! By mastering phone photography techniques like proper framing and focus, you’ll elevate your shots. Utilize natural light whenever possible, and don’t forget to experiment with angles. After snapping your pictures, enhance them using mobile editing apps to adjust brightness, contrast, and saturation. With these tips, you’ll capture stunning images that impress everyone at your event. Just have fun and get creative!
How Can I Keep the Photo Corner Tidy During the Party?
To keep the photo corner tidy during the party, set clear boundaries with designated props and backdrops. Regularly check the area and encourage guest engagement by inviting participants to help maintain the organization. You can place a small basket for props and a sign that reminds guests to tidy up after using them. This way, everyone contributes to a neat space, and you’ll capture great memories without the clutter in the background.
What Time of Day Is Best for Outdoor Photo Corners?
The best time for outdoor photo corners is during the golden hour, which occurs shortly after sunrise or before sunset. This time provides soft, warm, and flattering natural light that enhances your photos. Avoid harsh midday sun, as it can create unwanted shadows and squinting. By planning your photo corner activities around the golden hour, you’ll capture stunning images that truly stand out, making your memories even more special.
Conclusion
In the tapestry of your party, lighting weaves the threads that bring your memories to life. By mastering the art of illumination, you transform your photo corner into a radiant stage where laughter and joy dance like fireflies in the night. Remember, each click captures not just an image, but a moment steeped in warmth and connection. So grab your lights, set the scene, and let your photos shine like stars in the sky, immortalizing your celebration in all its glory.